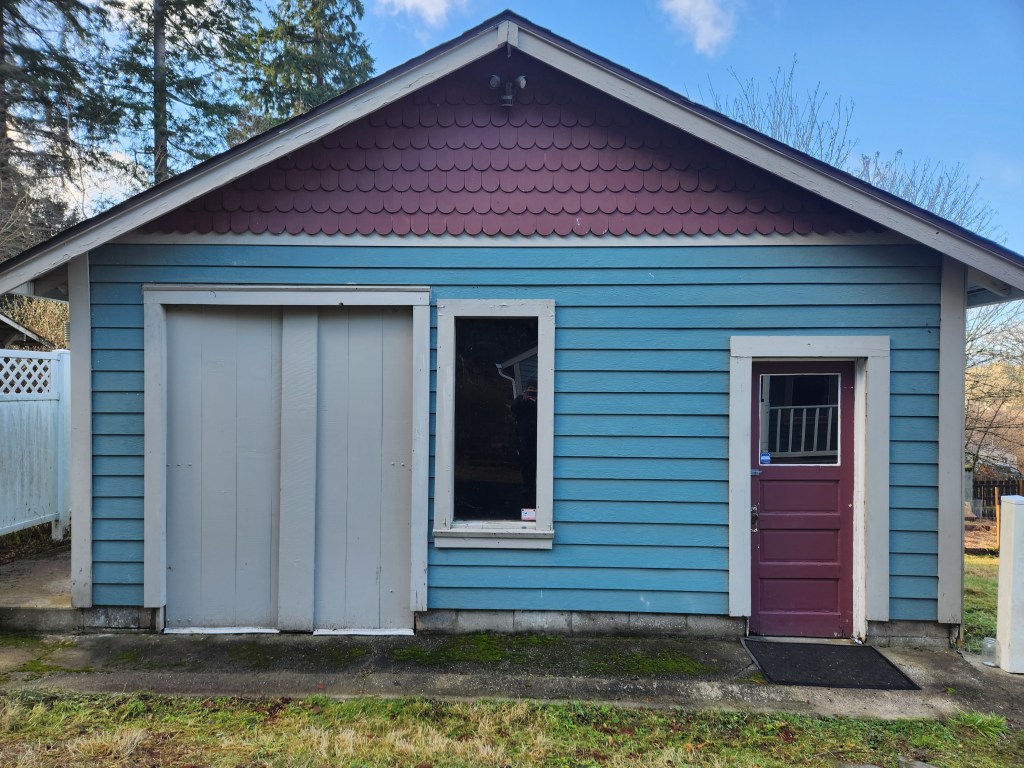
We have 5 detached structures on our lot; a 20×20 shed which we call the “garage”, a larger outbuilding we call “the workshop” which also has a small studio apartment on the second floor, a cinder block greenhouse, a wooden barn, and an open-sided pole barn.
These structures are all in need of some repair, and while some are worse than others, the garage was unusable, with moldy drywall and rat feces littering the floor.
The “workshop” (about the size of a 2.5-car garage) is where I plan to construct my pottery studio, but in order to do that, we first need to clear out the tools, equipment, and boxes that we’ve stored there. We decided to renovate the garage to use it as a permanent storage space.
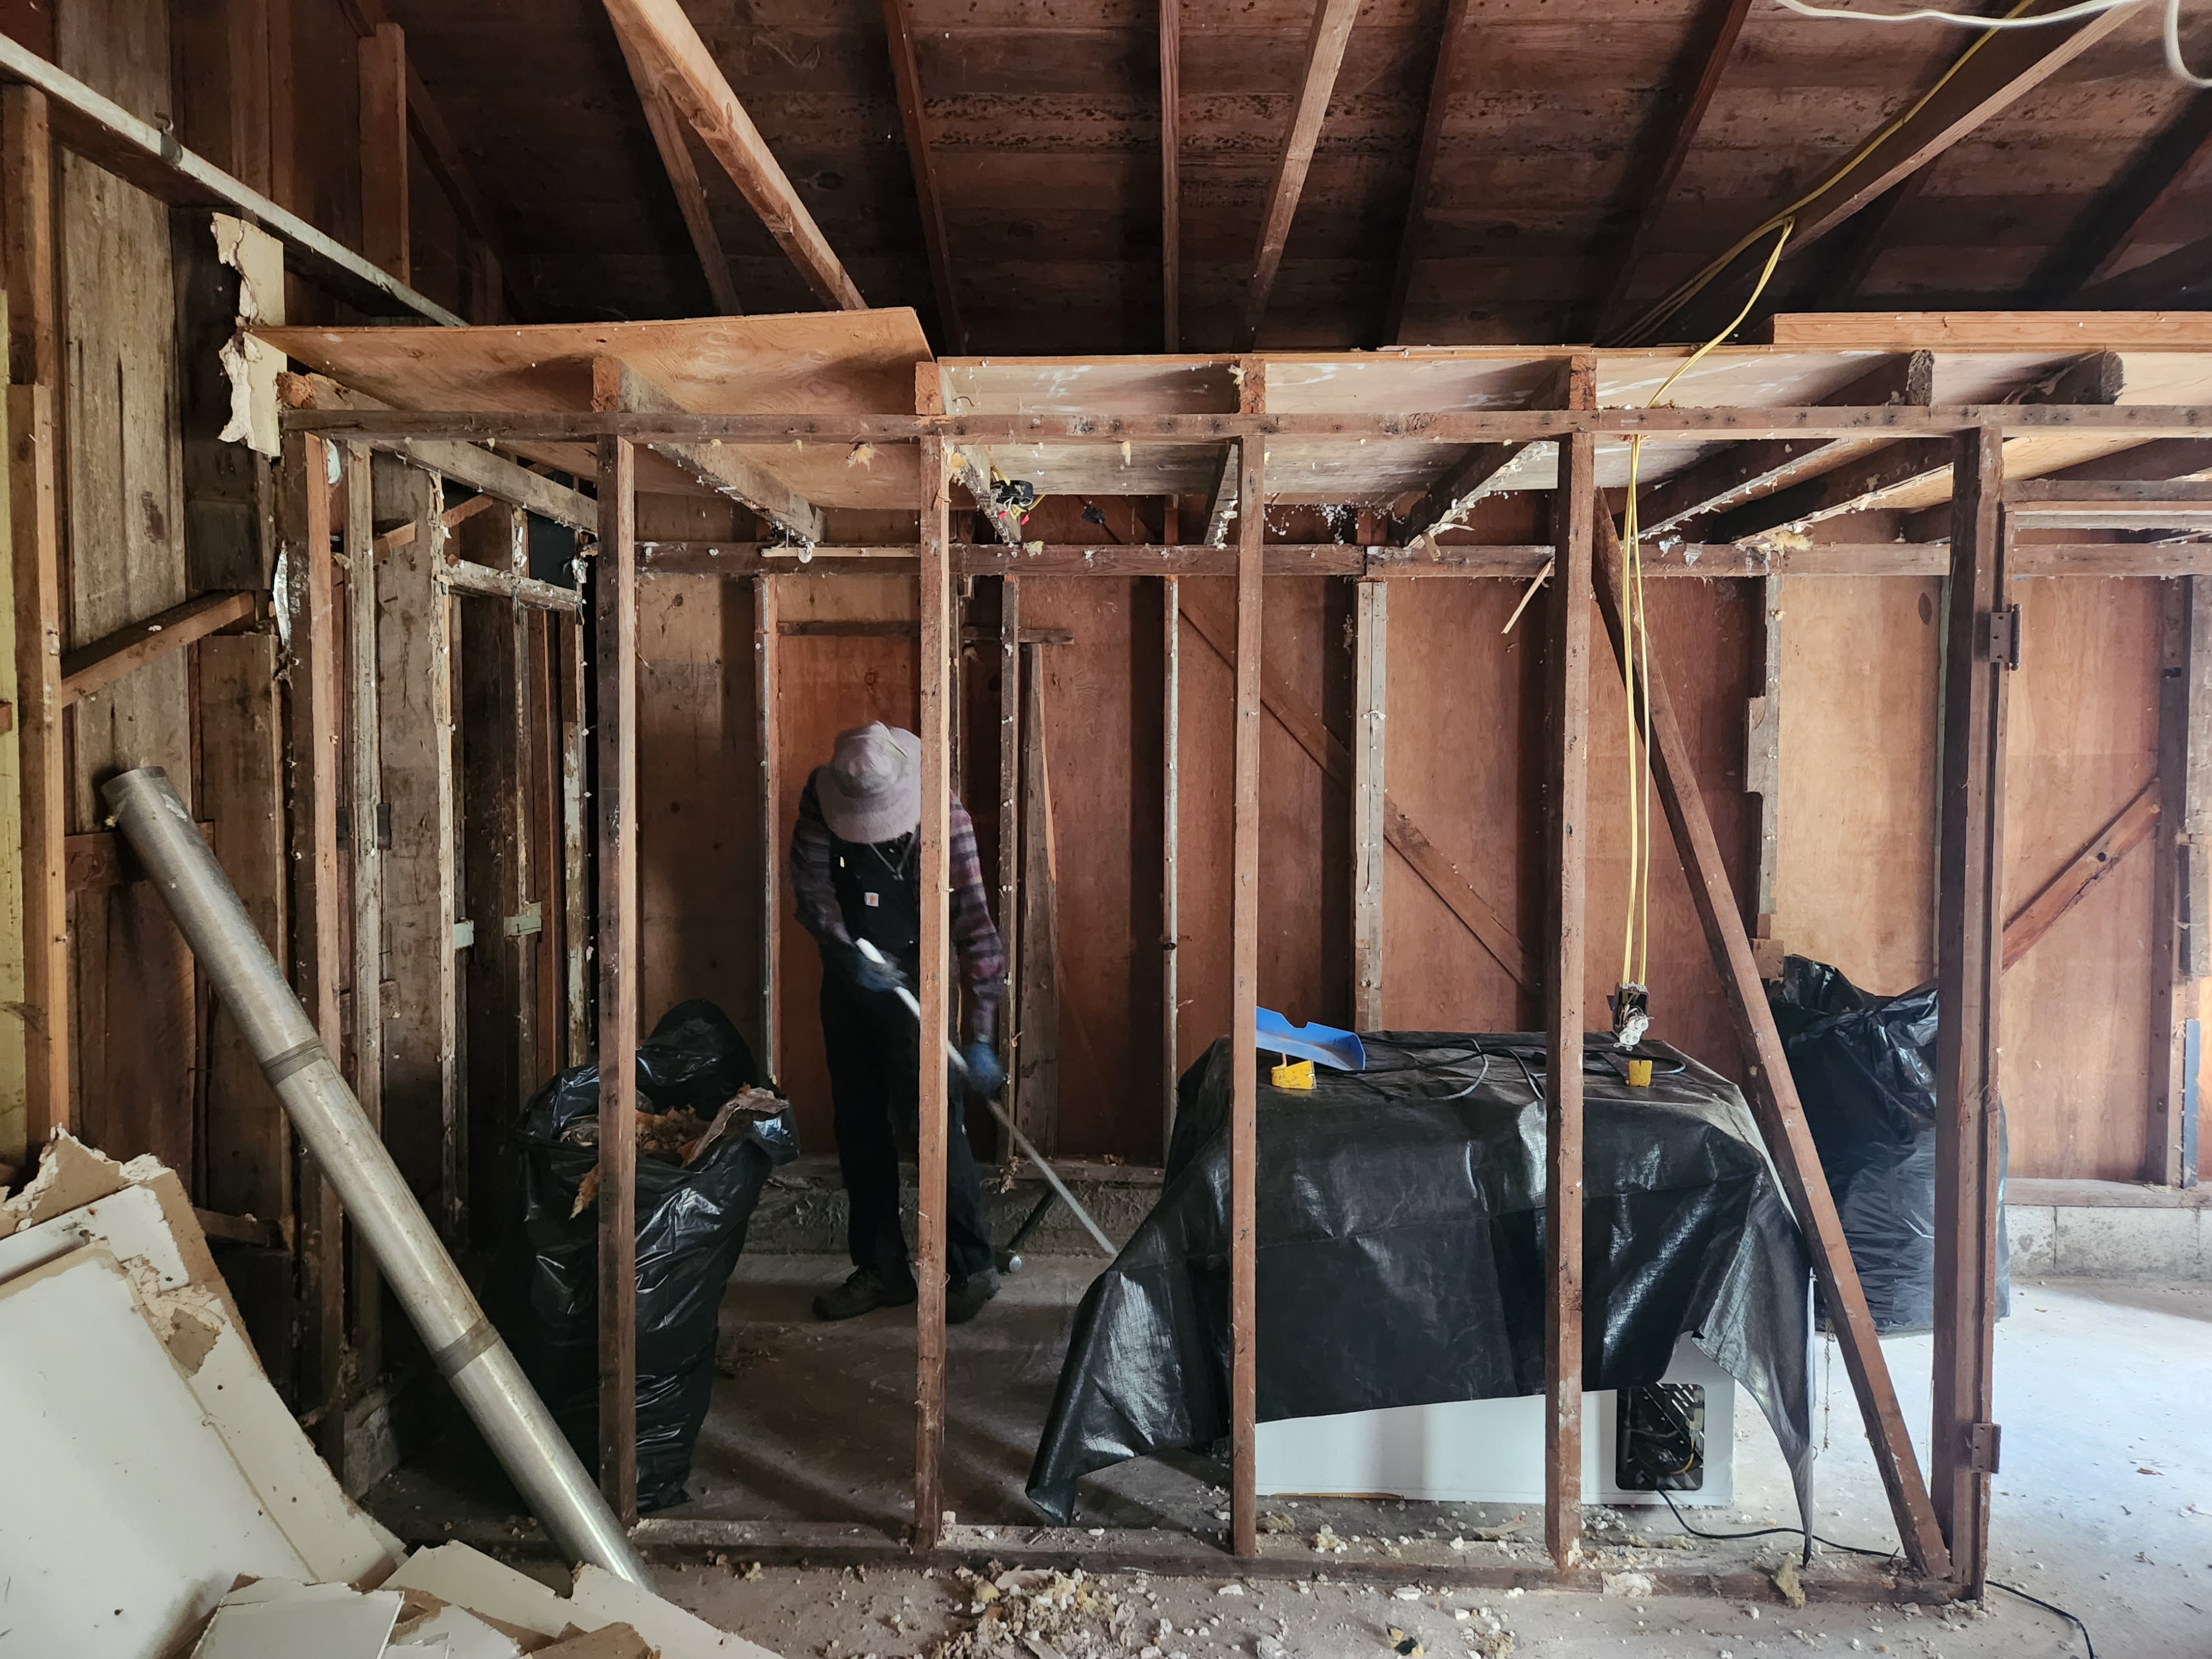
Stage 1: Gutting the Garage
We donned our work gear, covered our hair, put on our ventilators, and set to work!

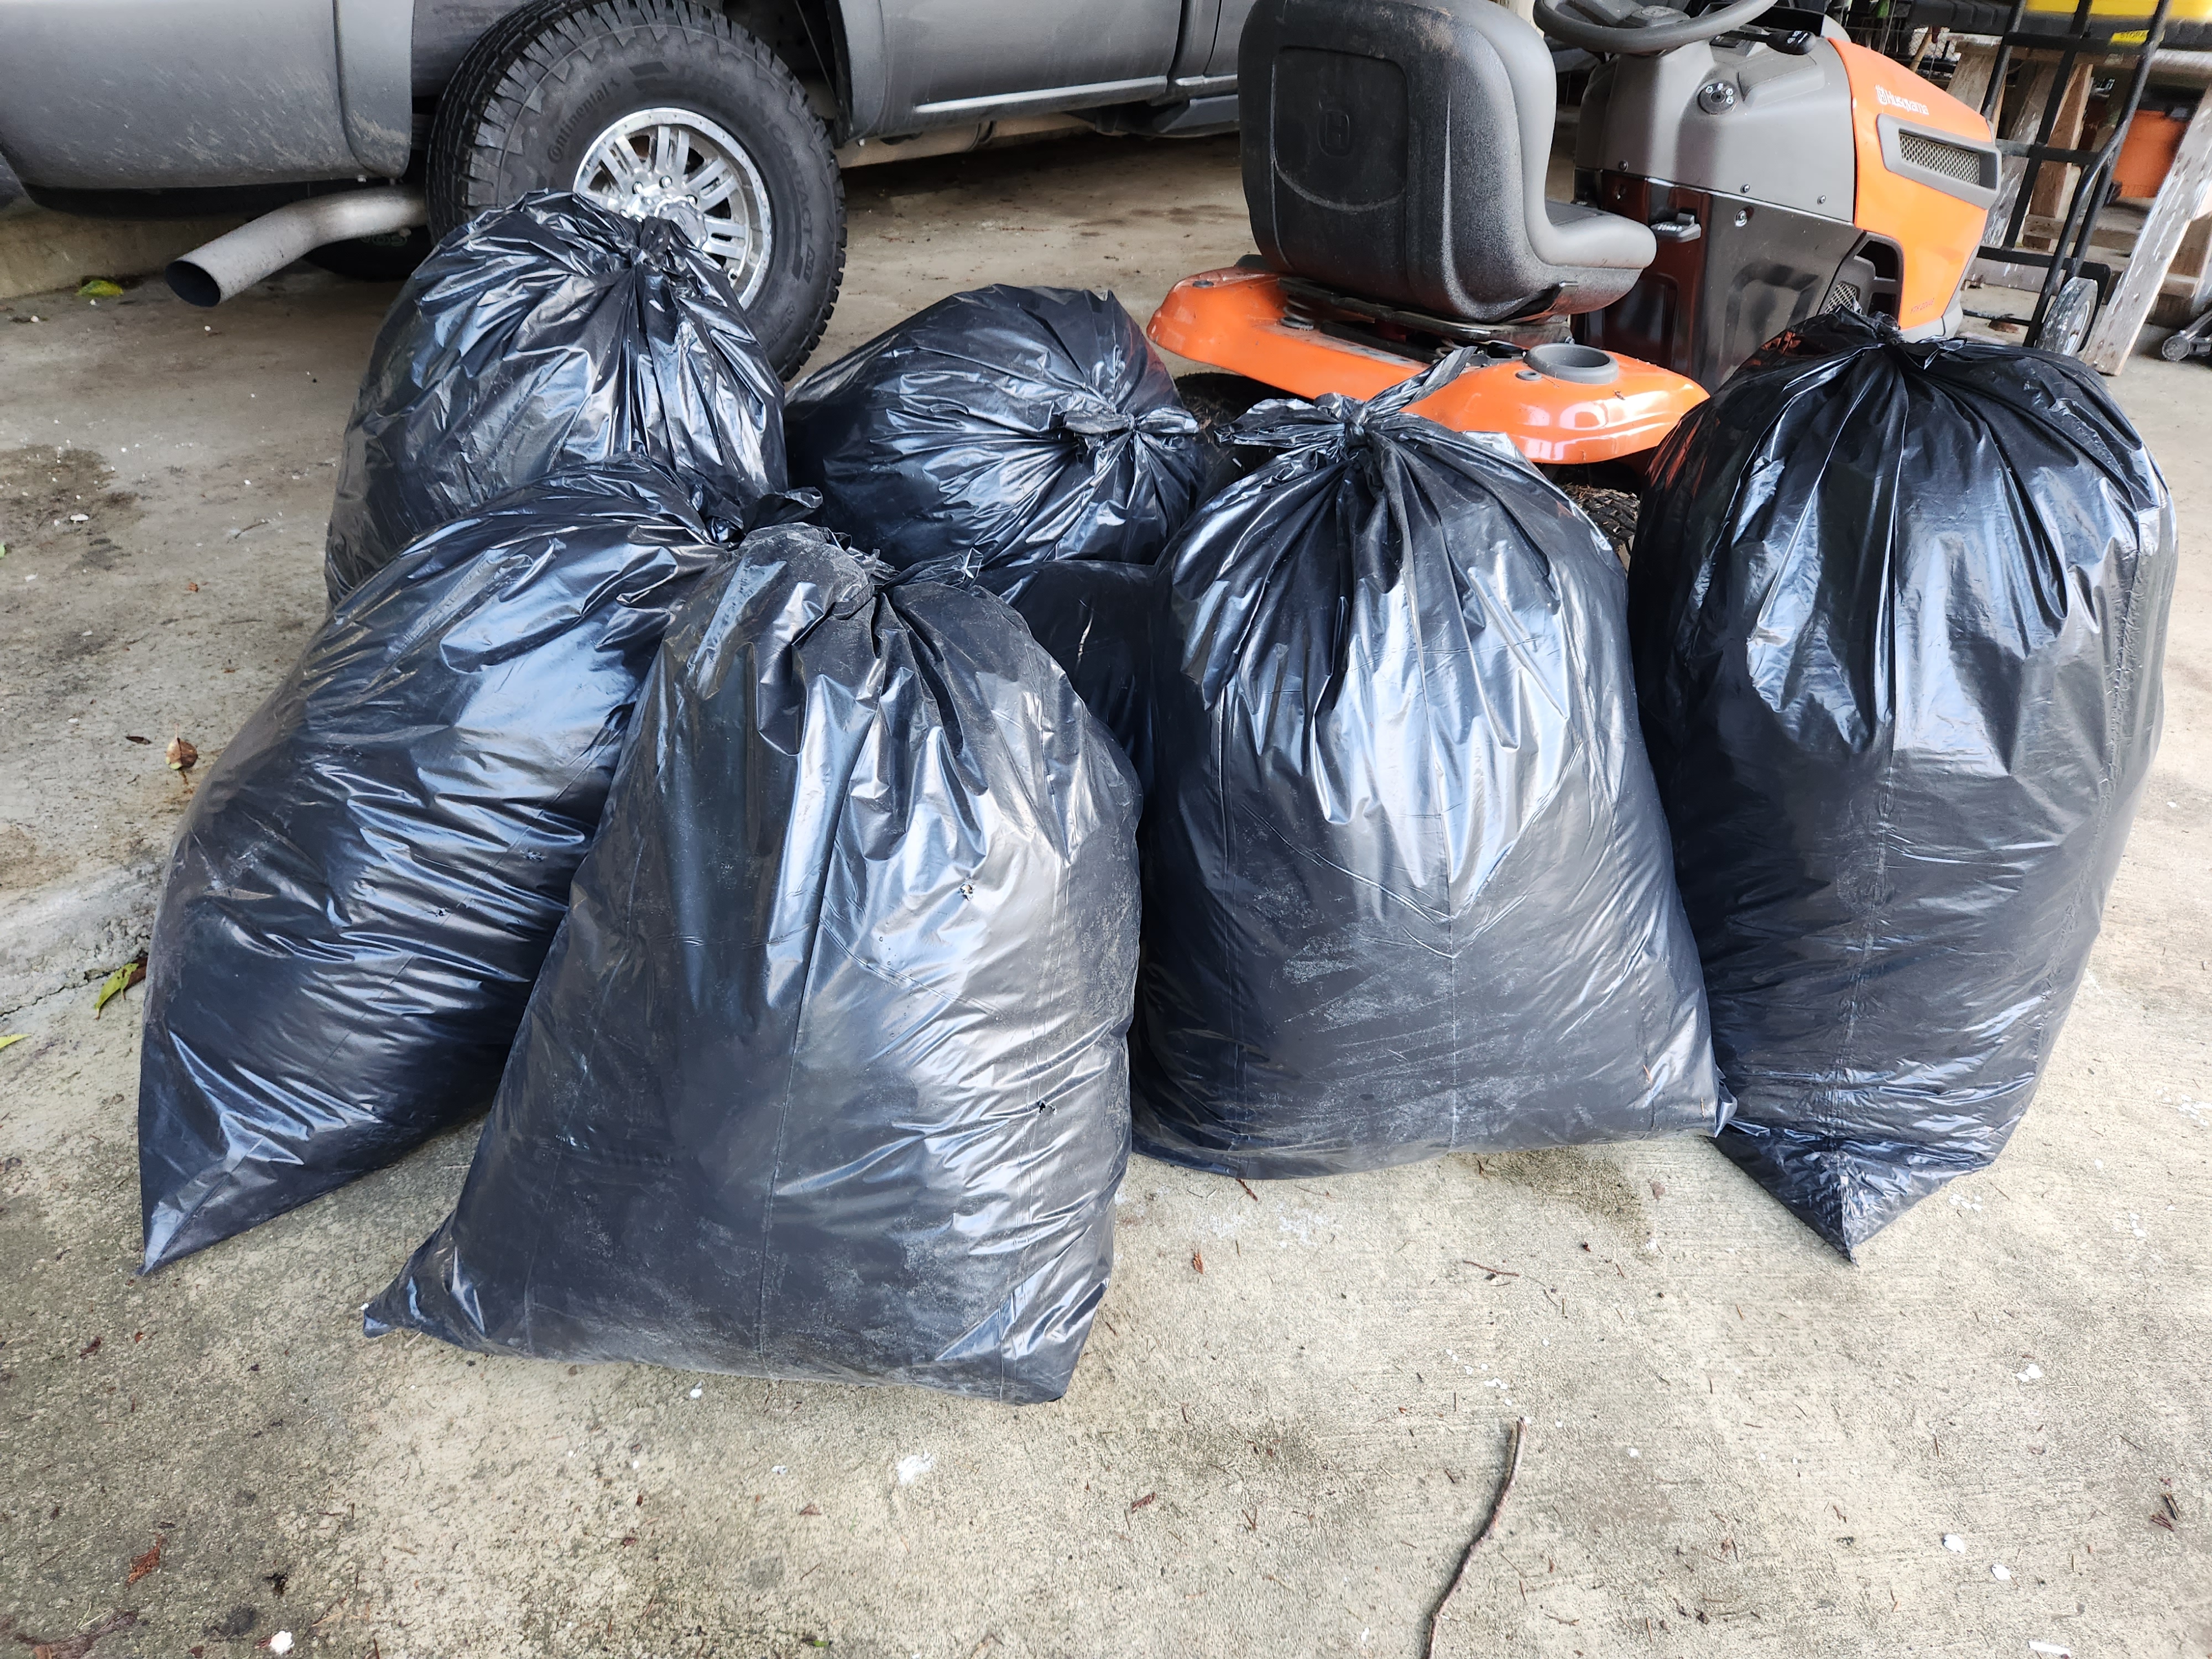
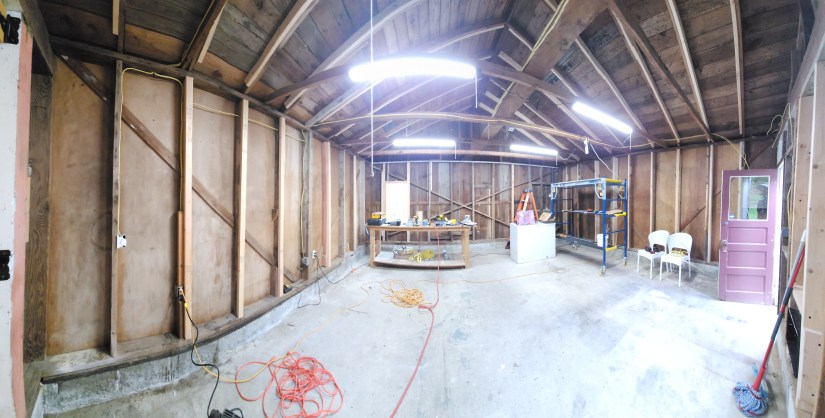
We began first by pulling down the shelving, tearing down the drywall, and removing the contaminated fiberglass insulation.

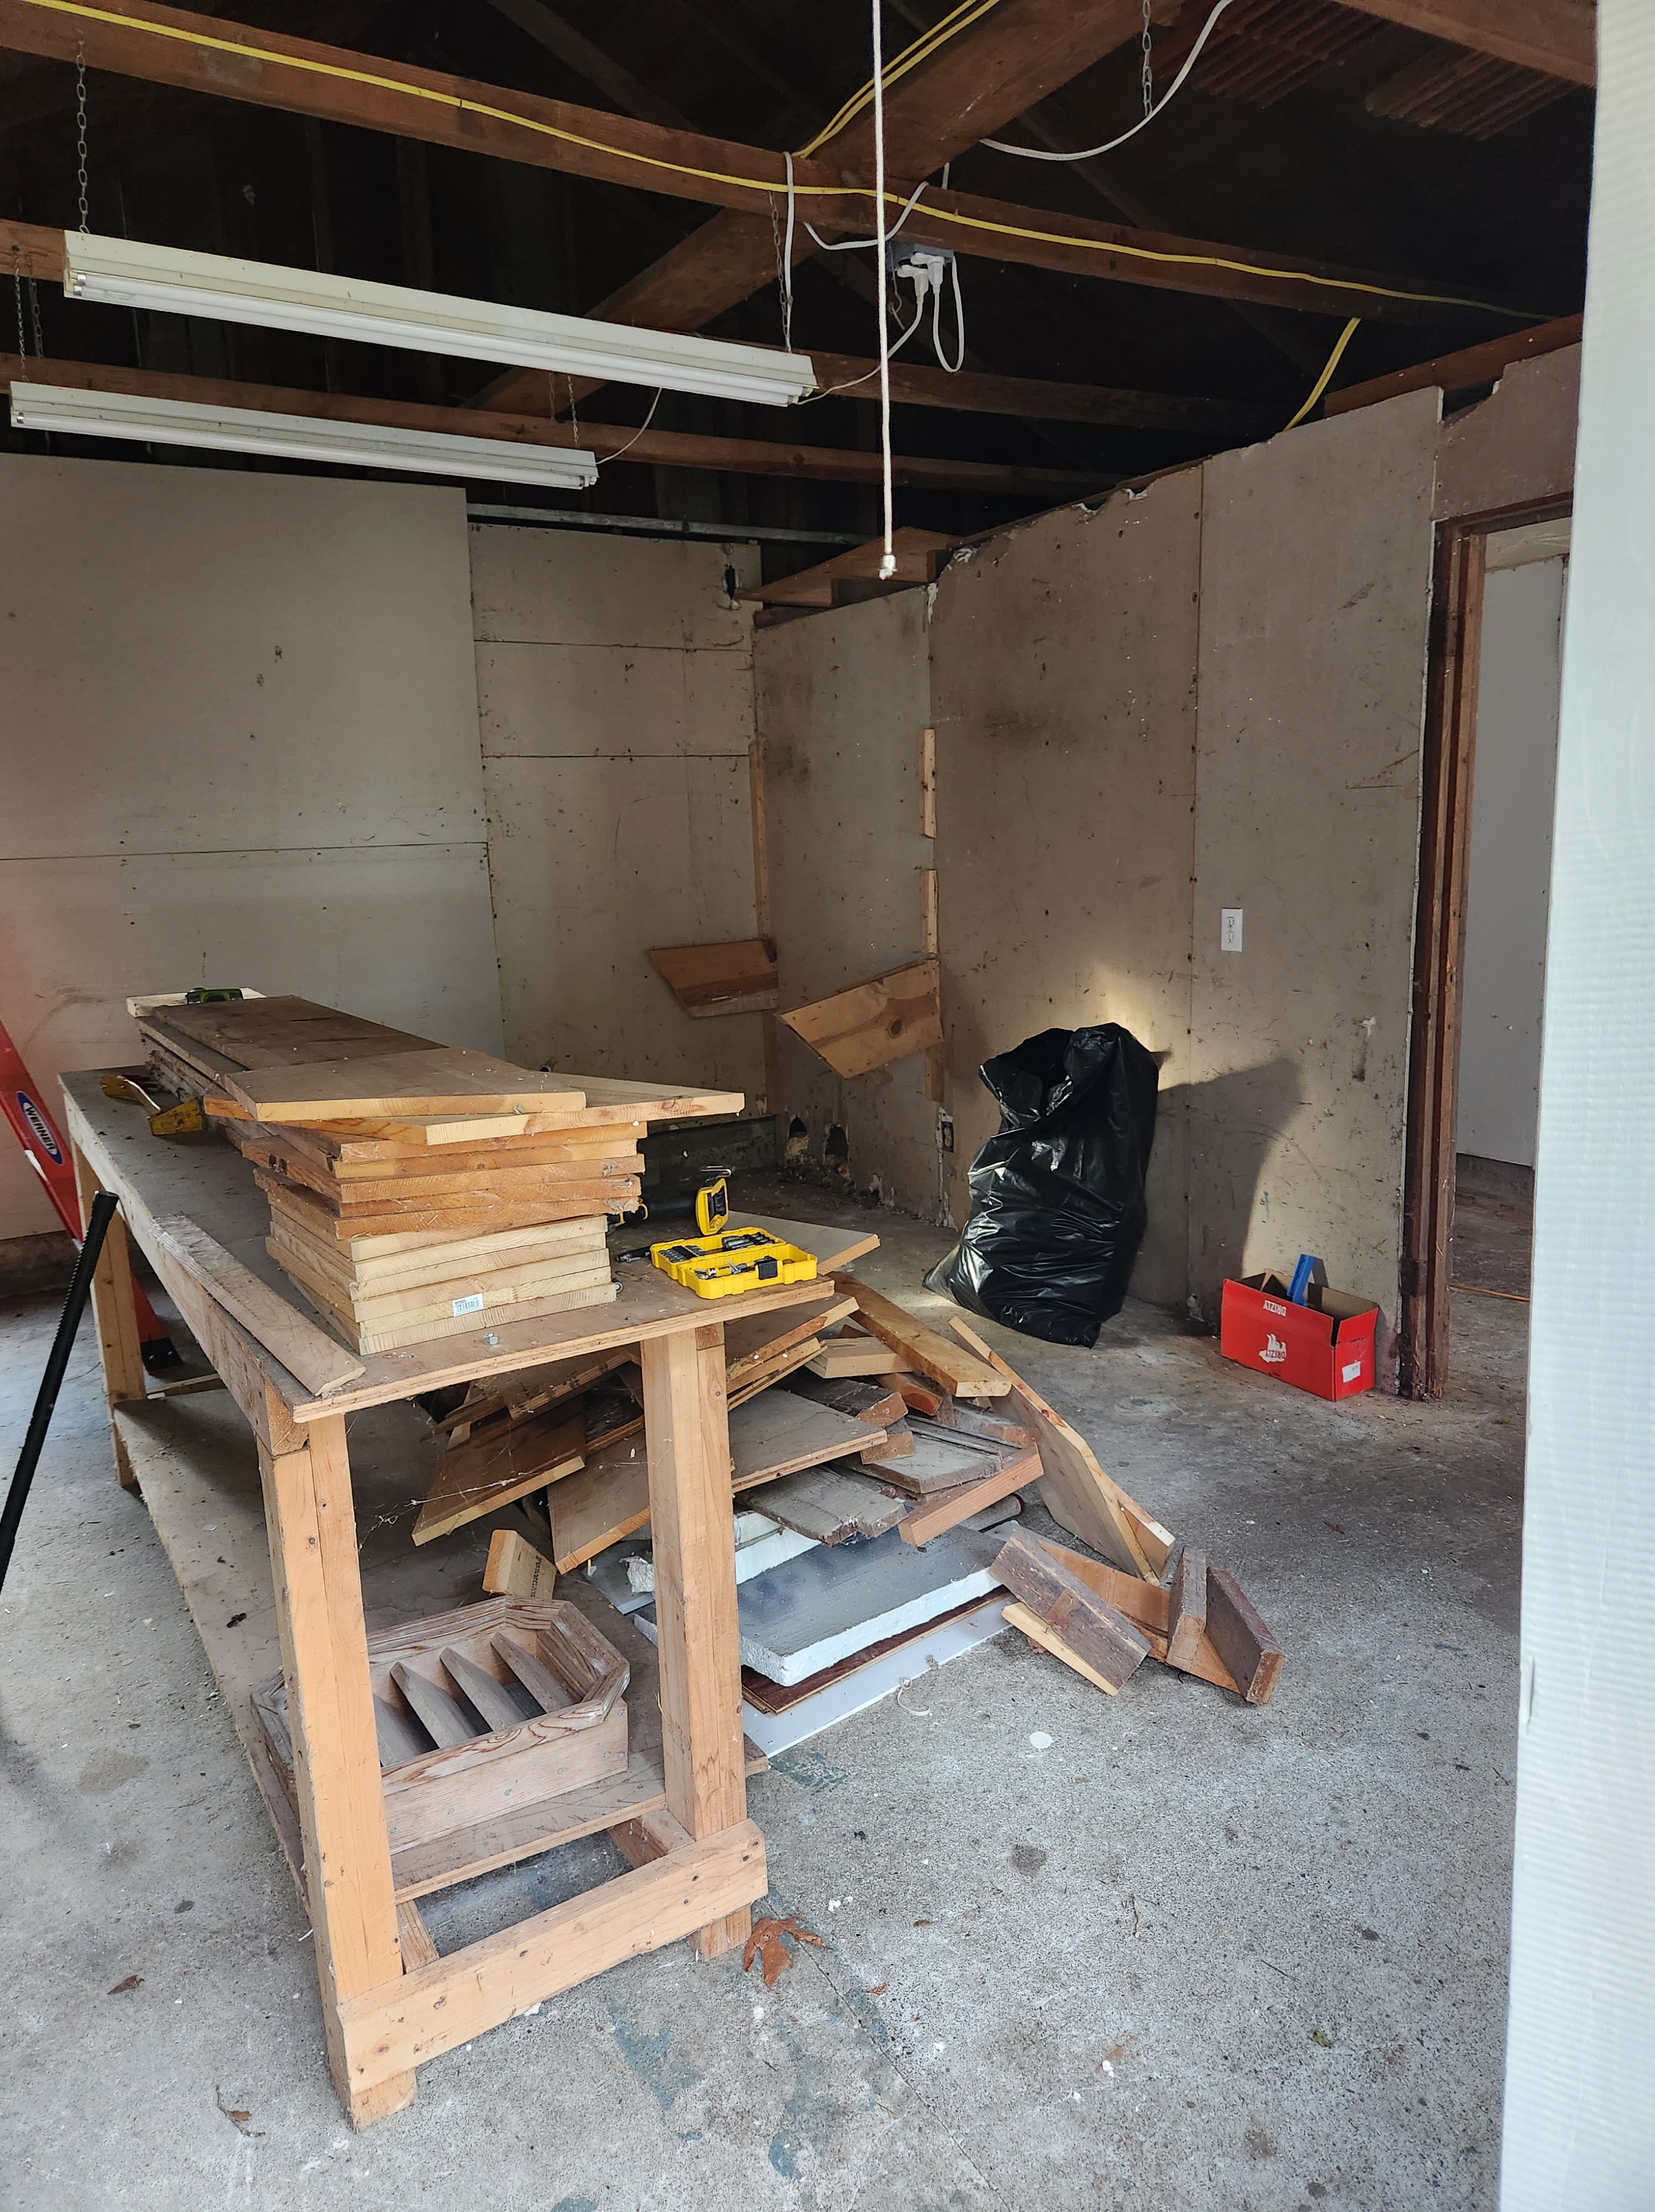

We then tore down the partition with drop-ceiling and removed the old light fixtures.
Stage 2: Rebuilding the Garage
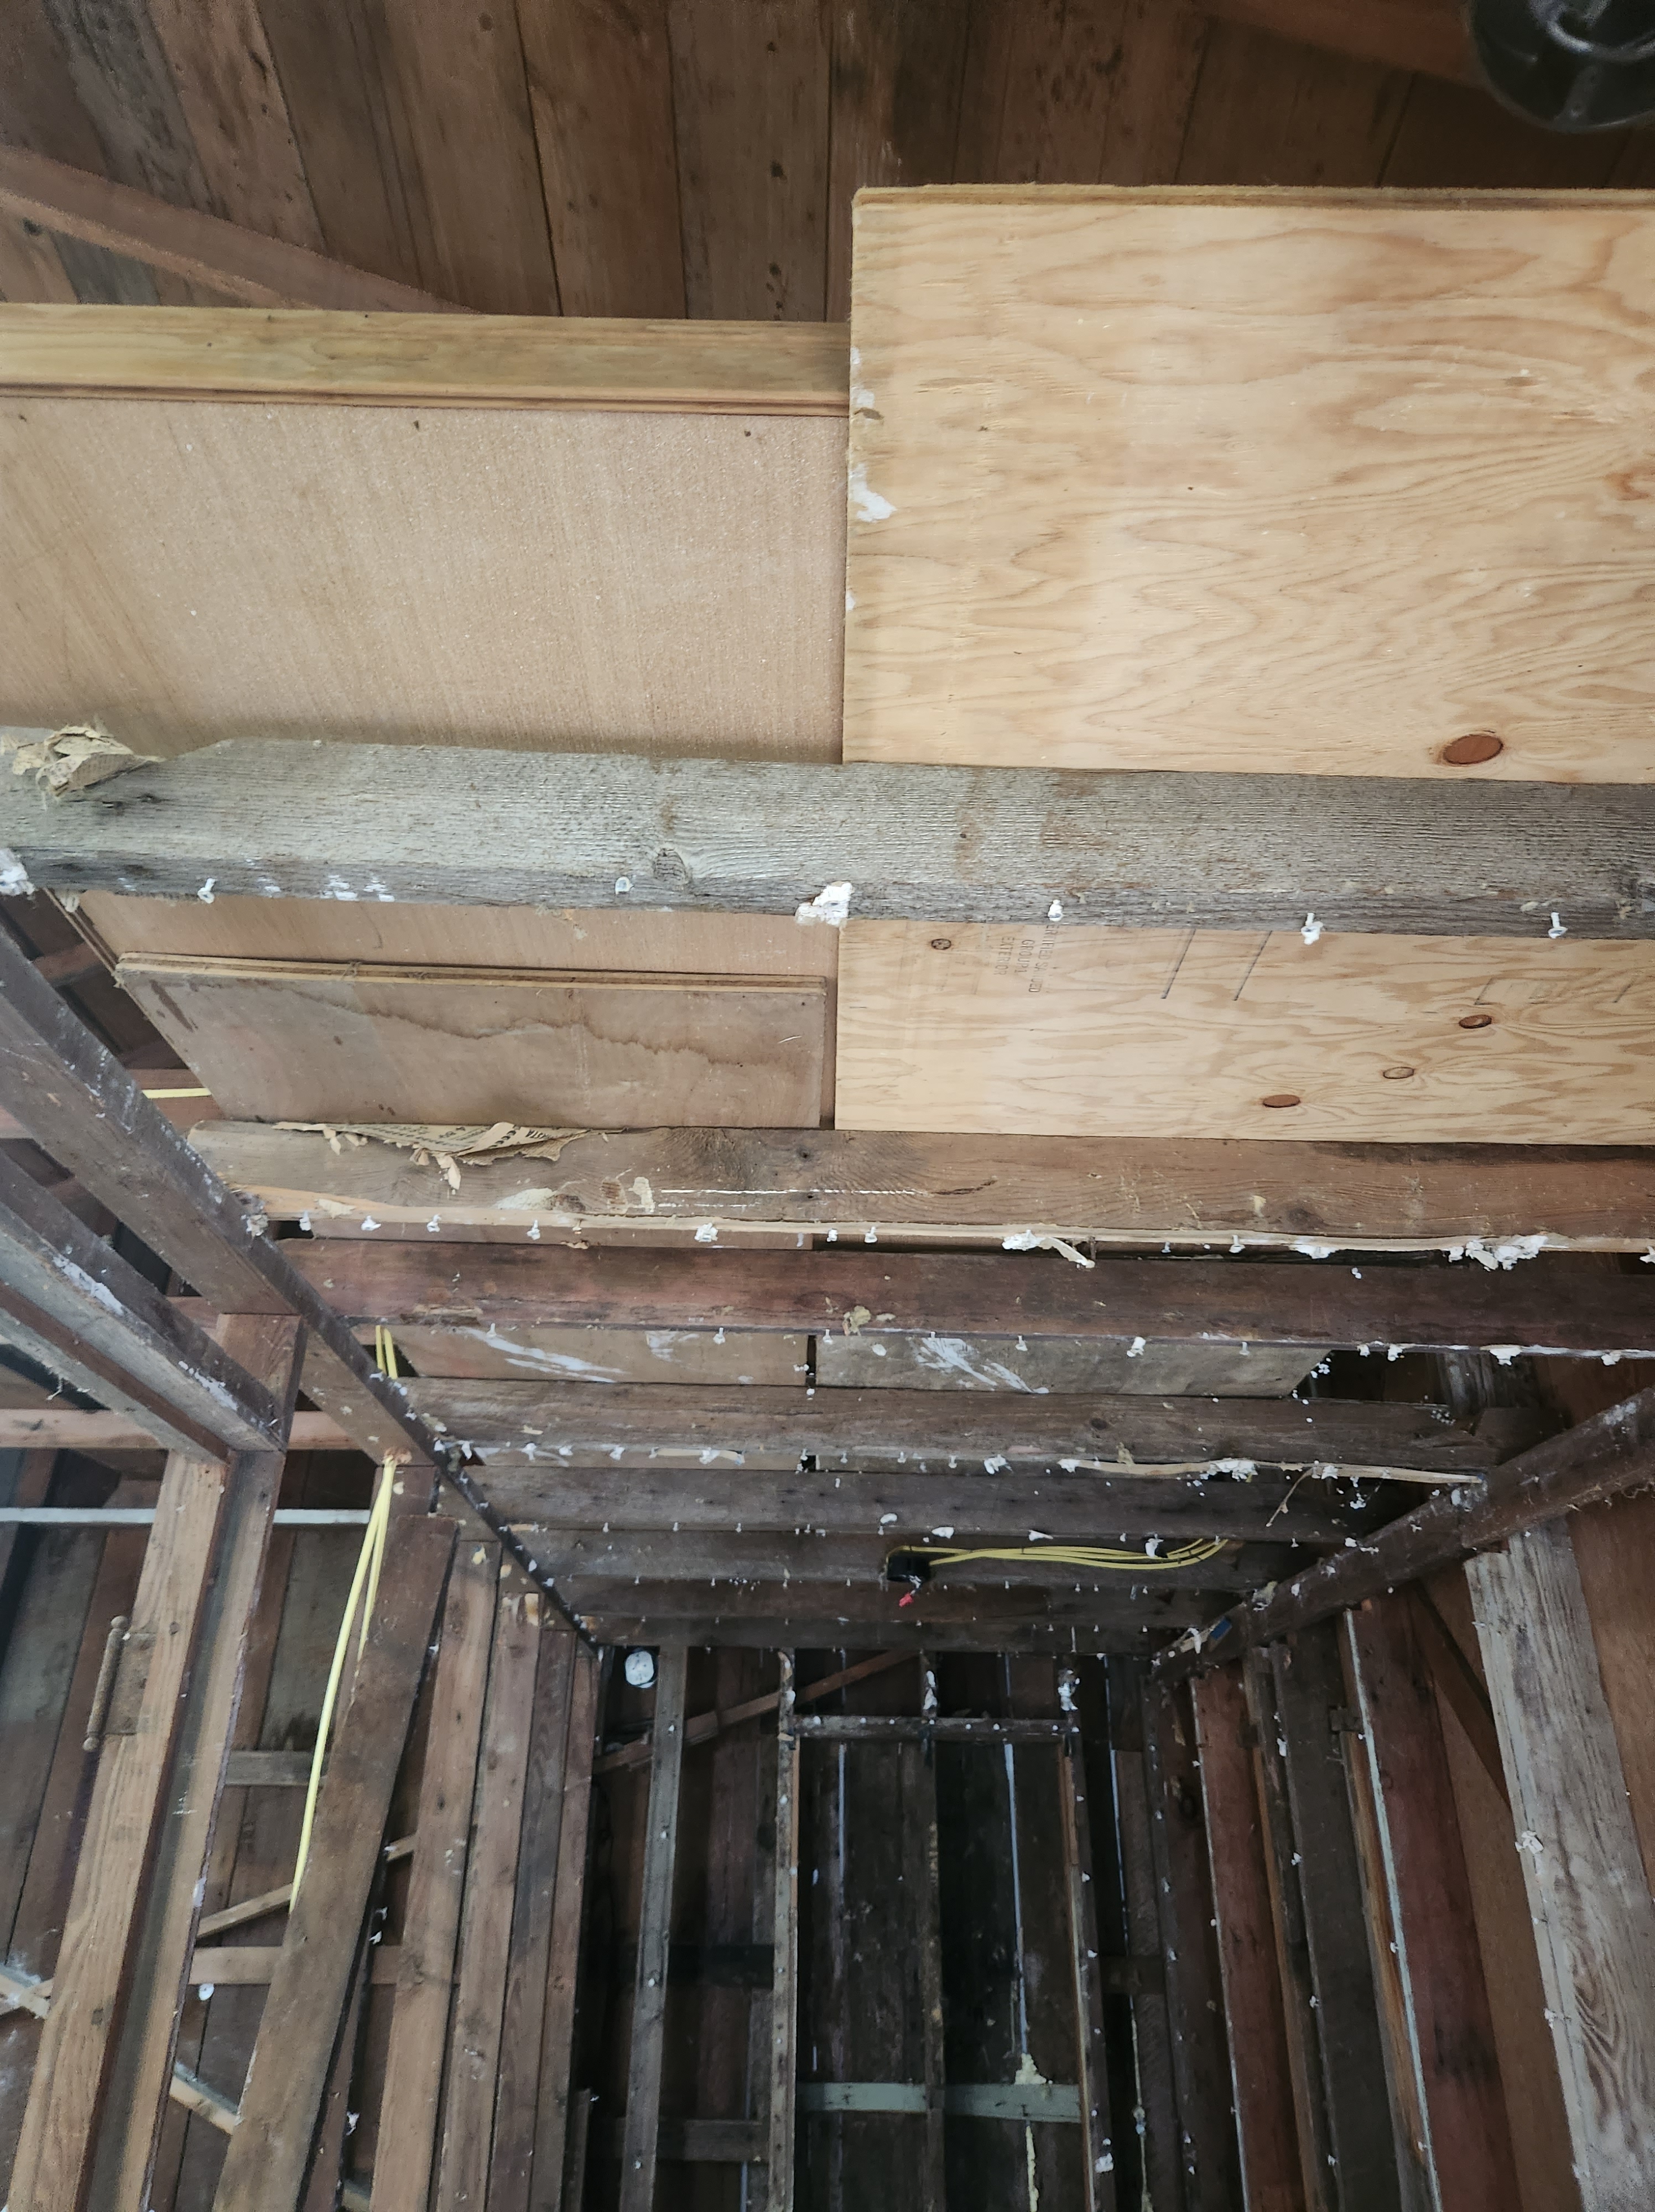
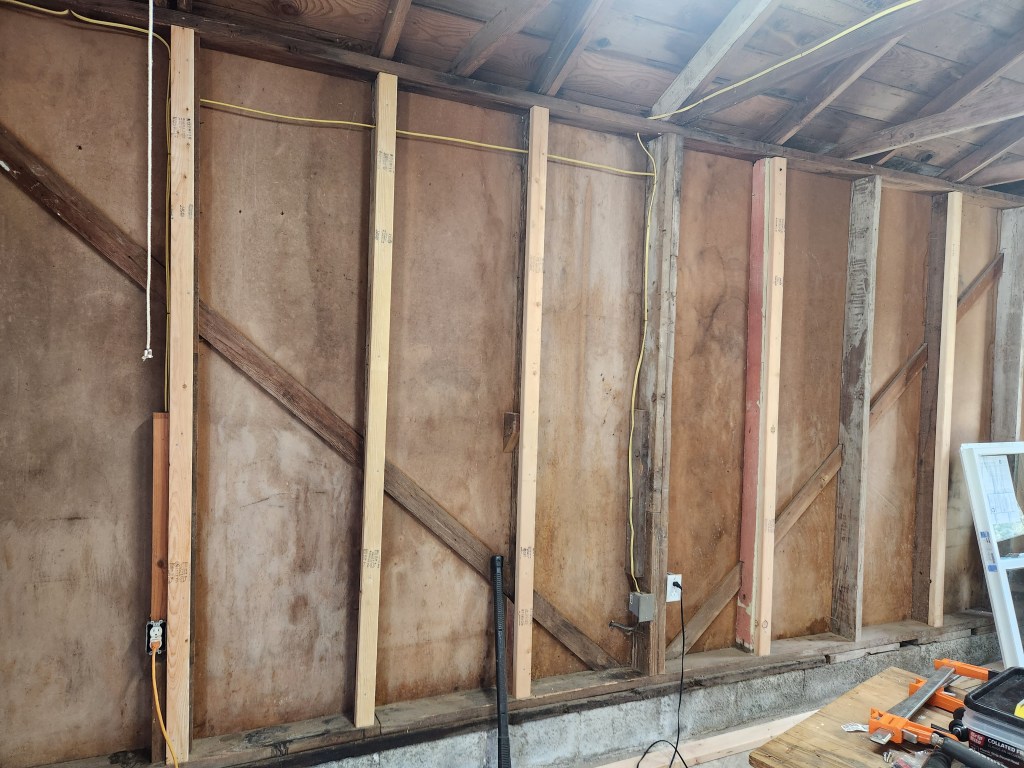
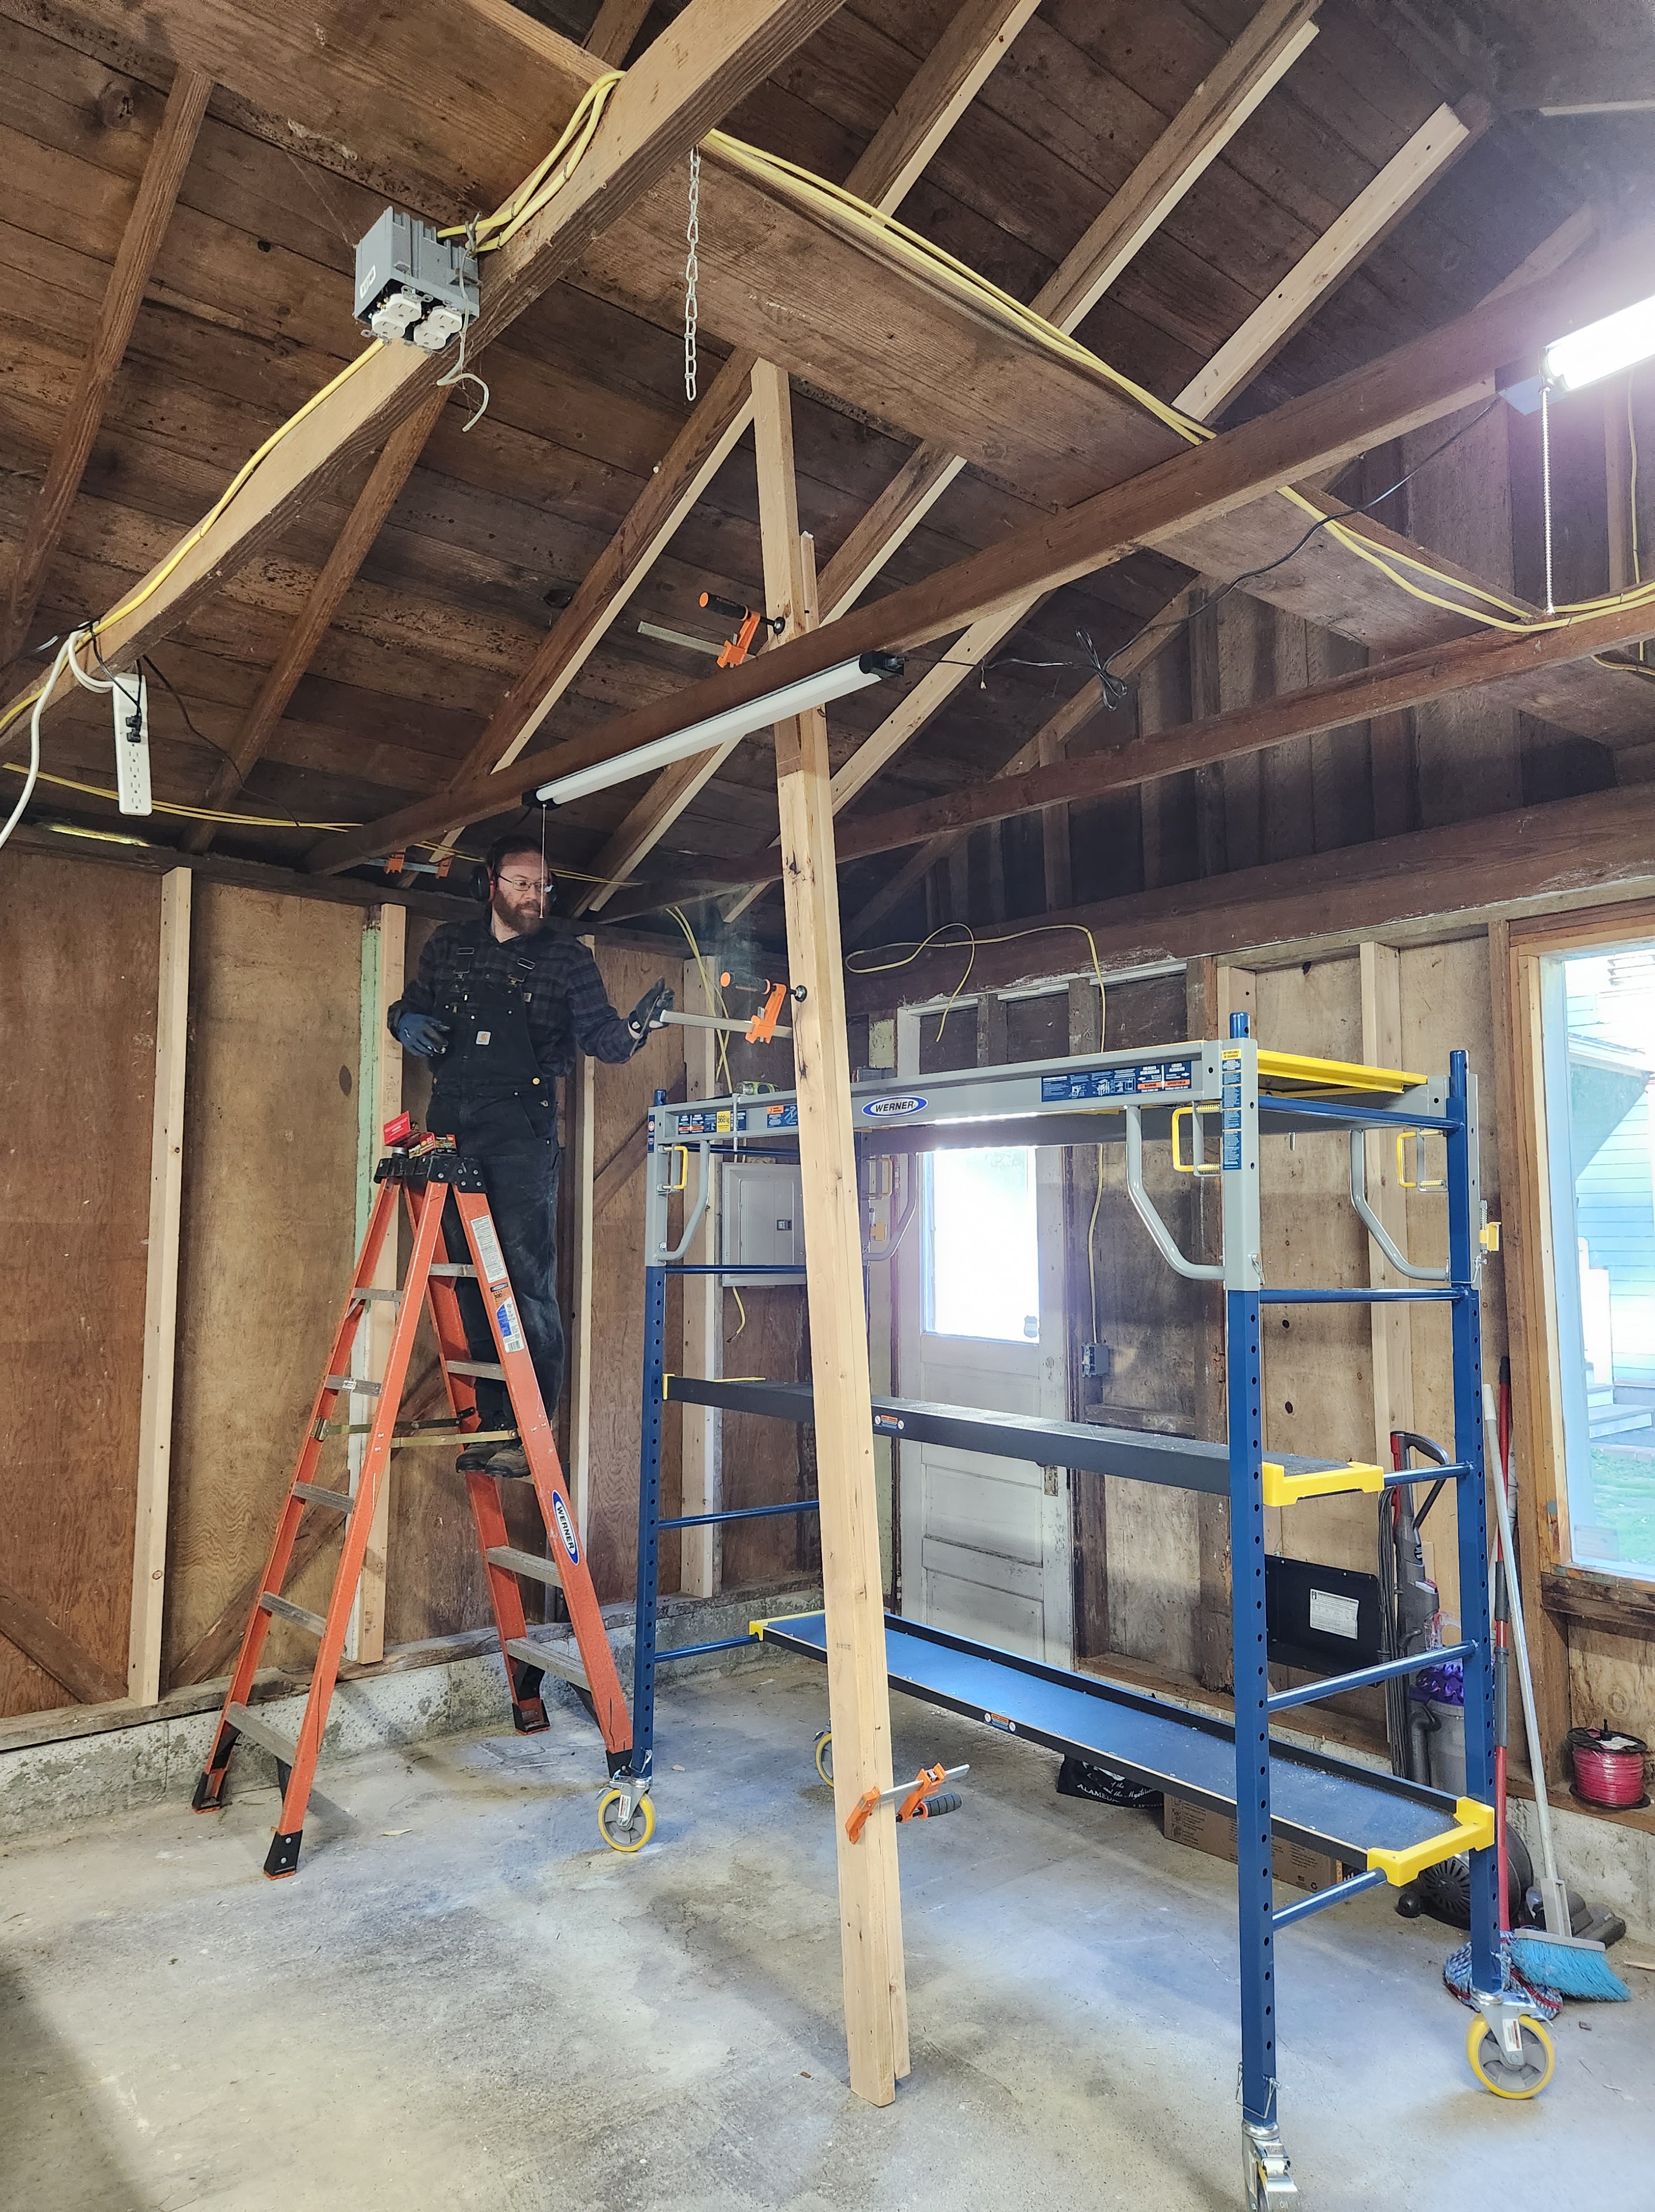
With the debris cleared, we could assess the structure and determine what structural rehabilitation it would need. The studs behind the partition had all been notched and were no longer structurally sound, and so we reinforced them with kiln-dried 2x6s.

We used 23/8″ lag screws to attach the new boards to the existing studs.
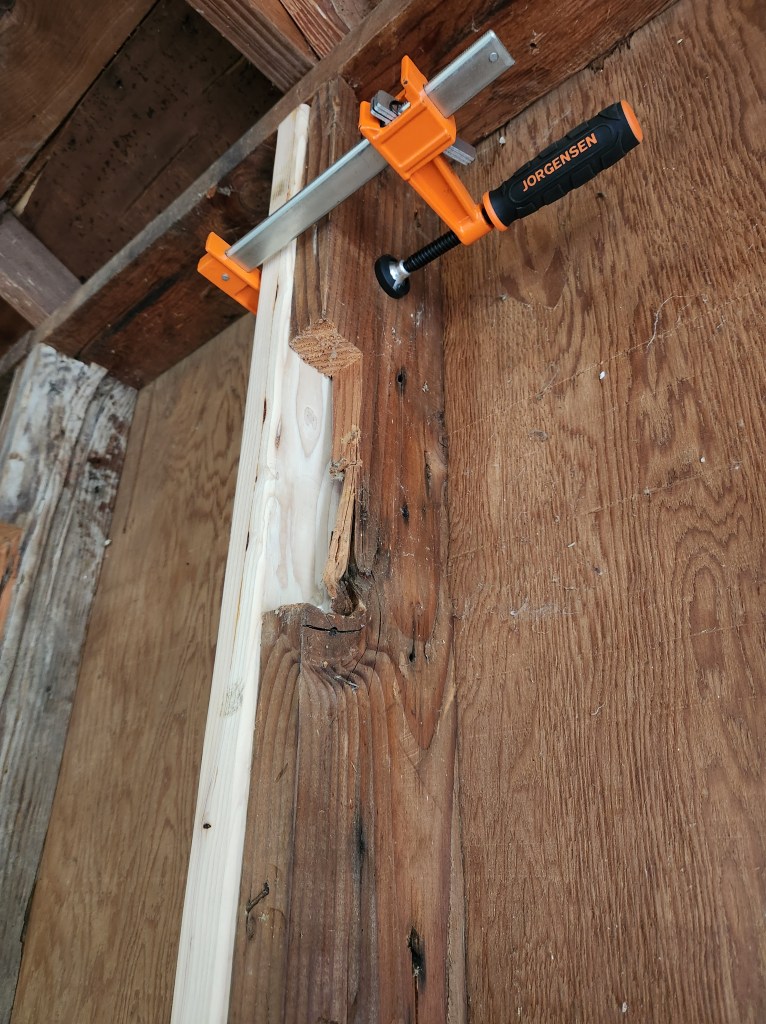
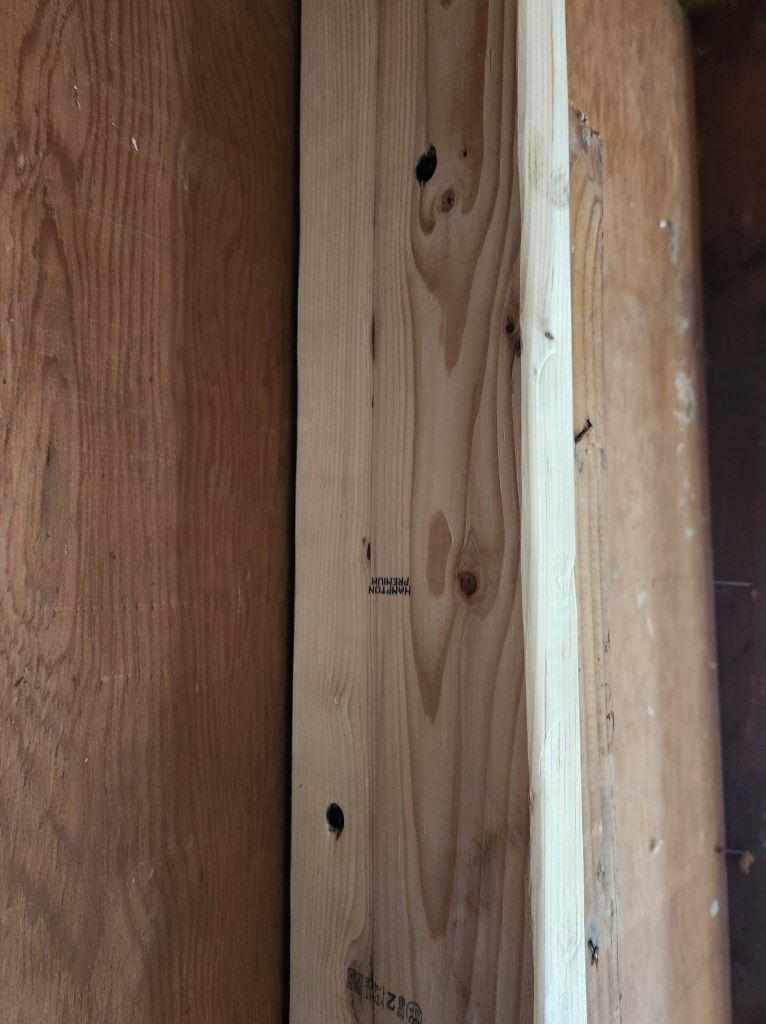
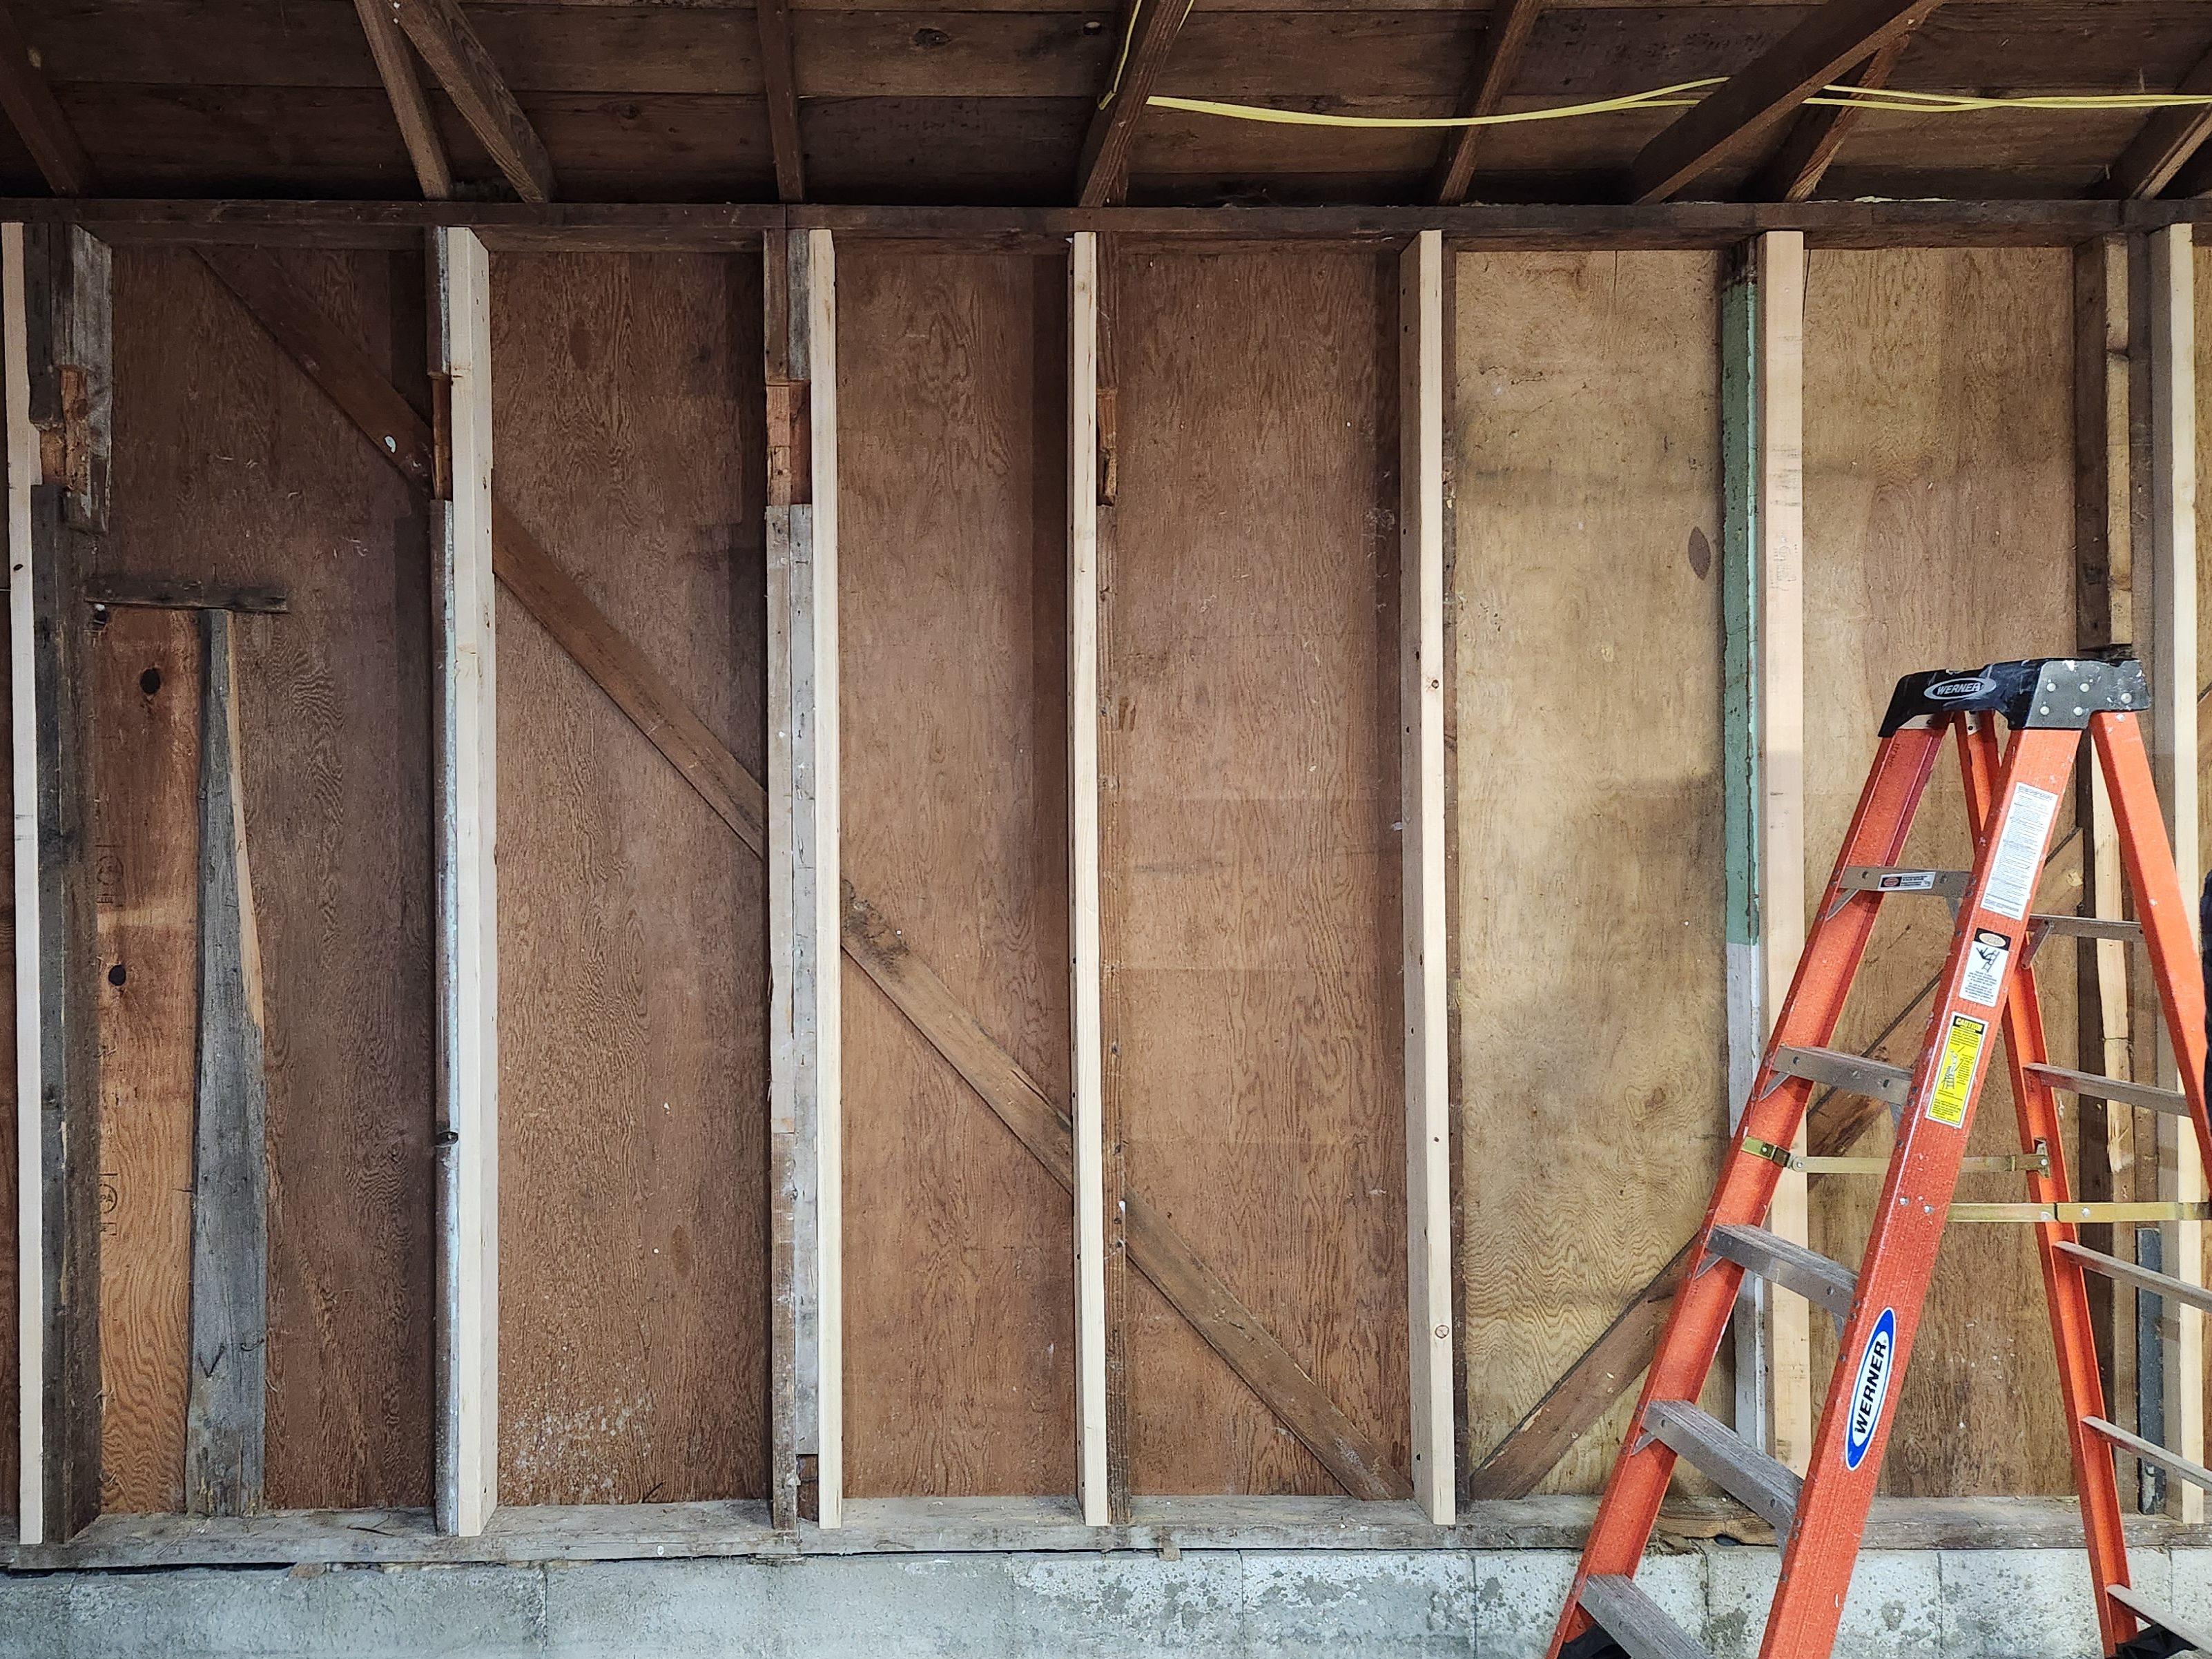
Along one wall, there were 2x4s, rather than 2×6’s and so we faced them with 2×3’s to add strength and create an even surface for hanging the sheeting.
We scrubbed down the walls and floor with vinegar to remove the scattered mold growth, rat contamination, and unpleasant lingering odors.

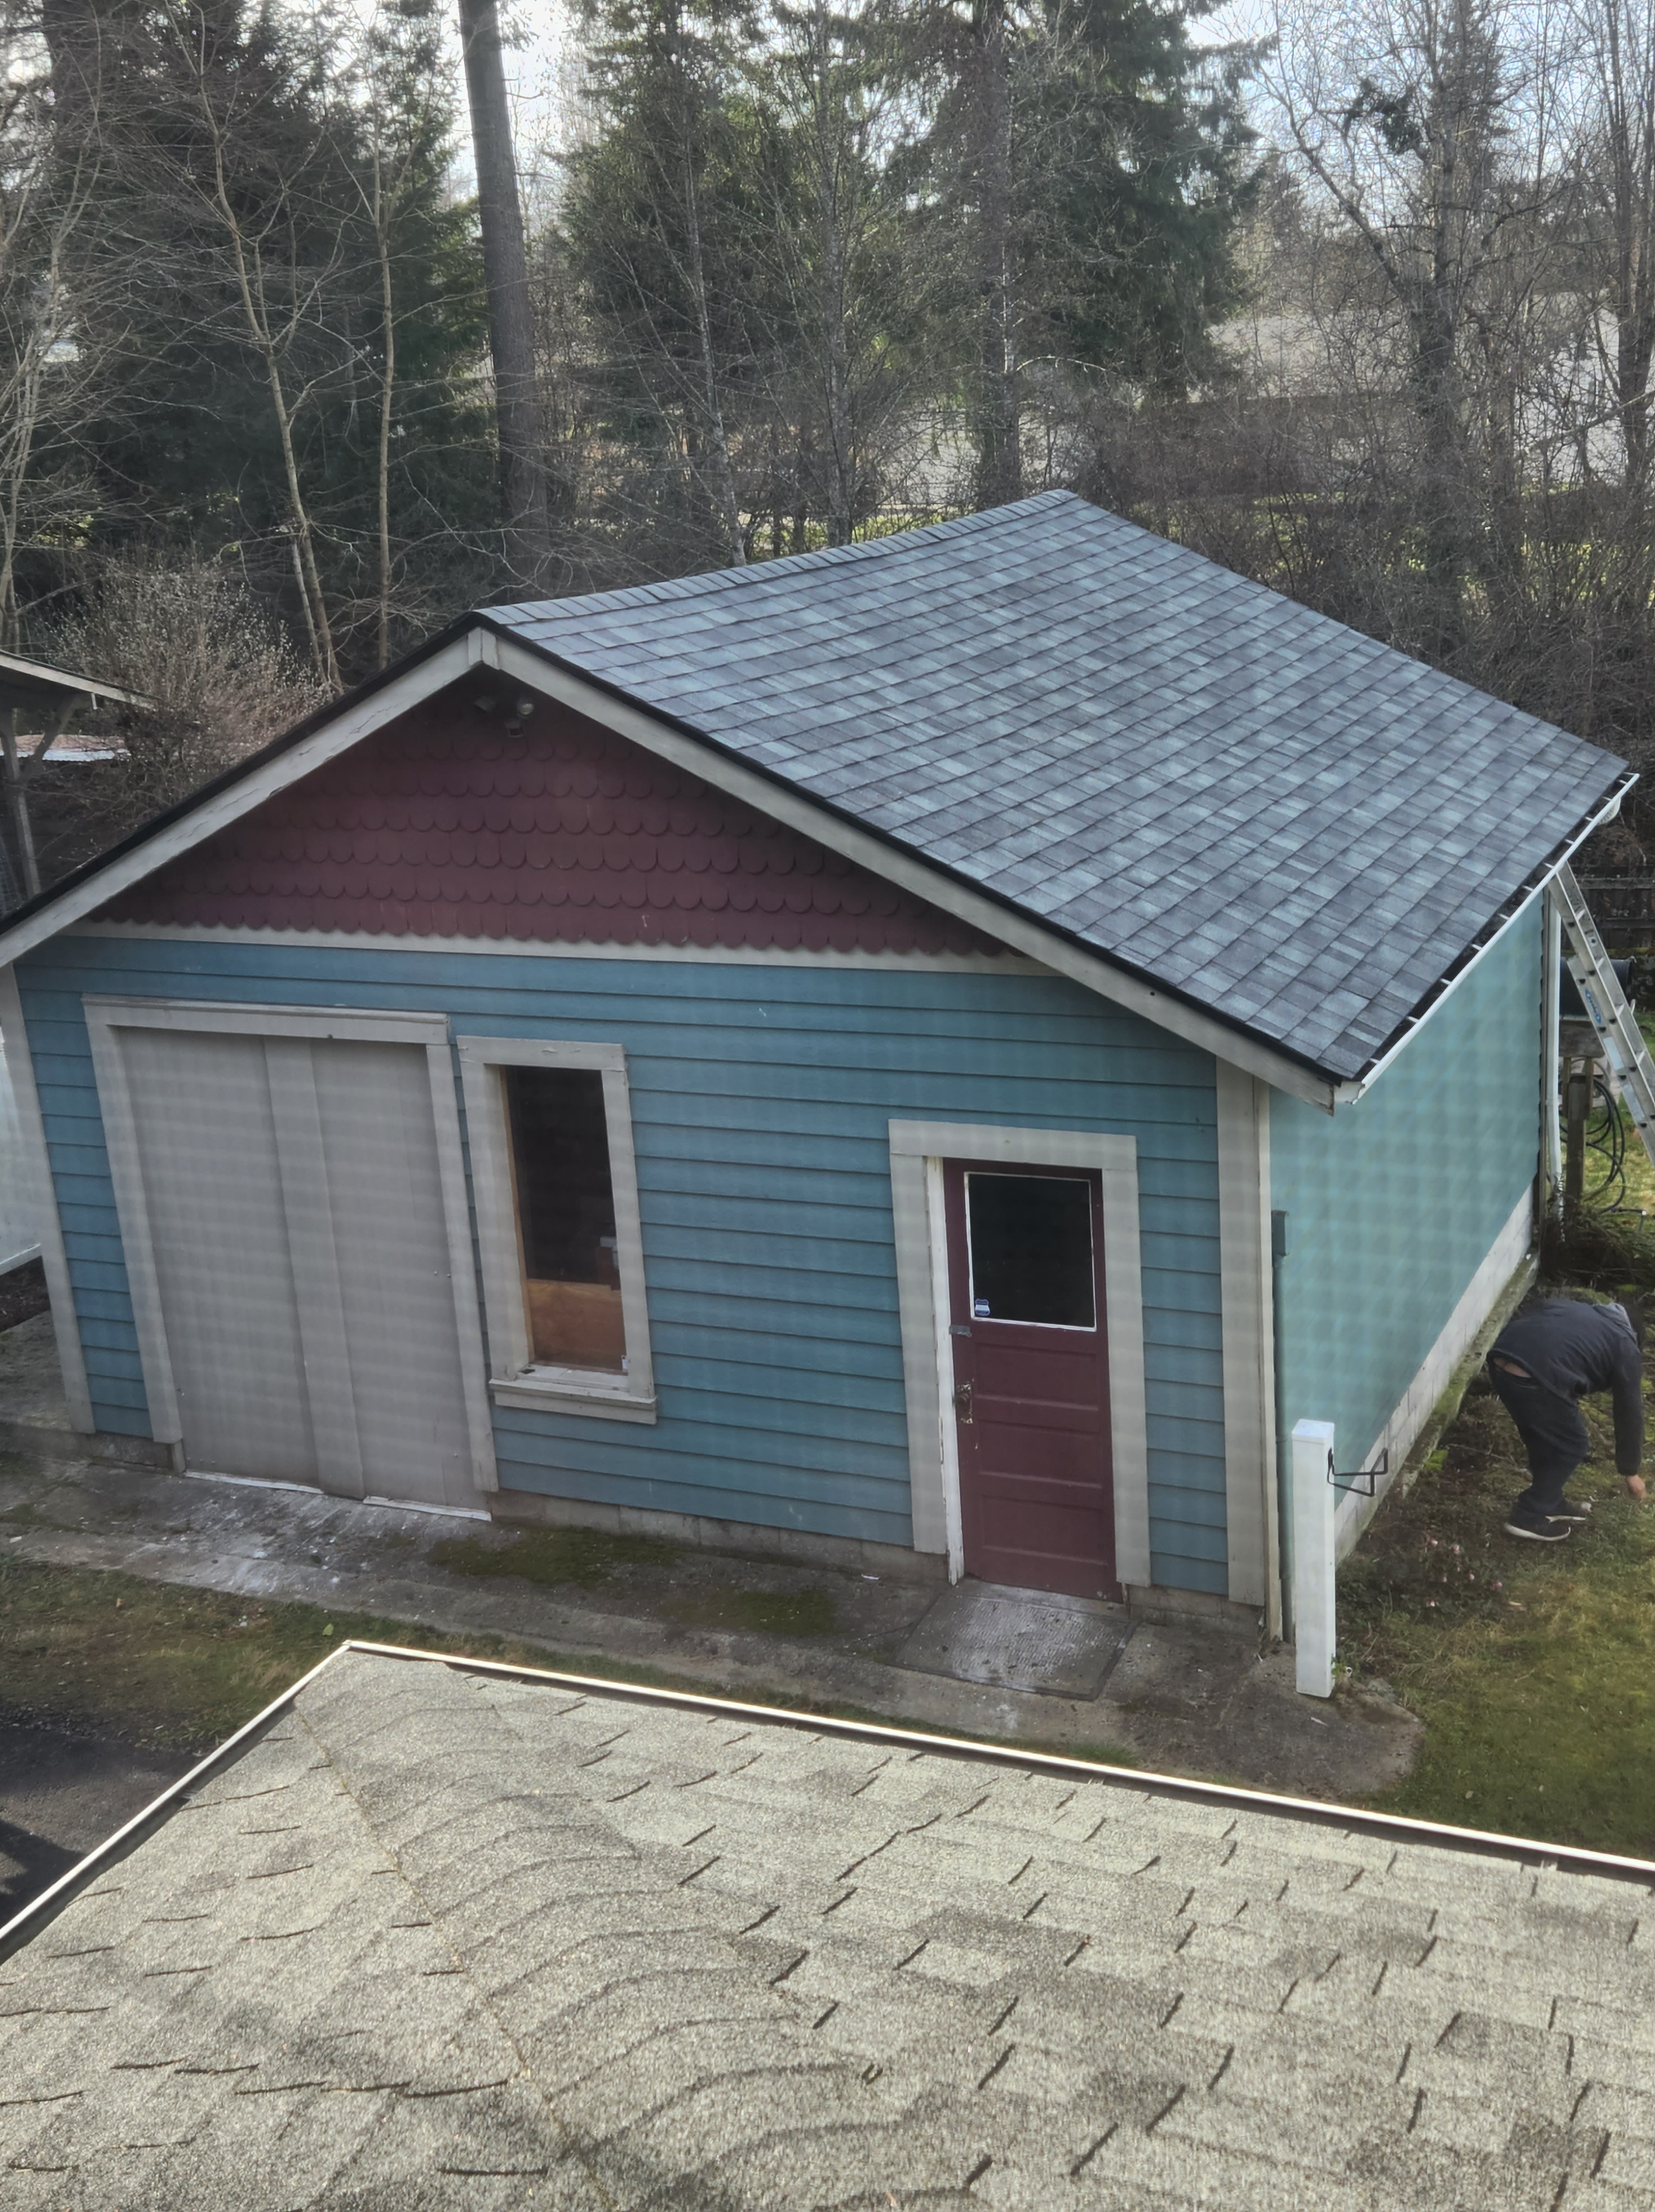
We hired roofers and had the roof reshingled. They replaced some sheathing and repaired the facia boards as well.
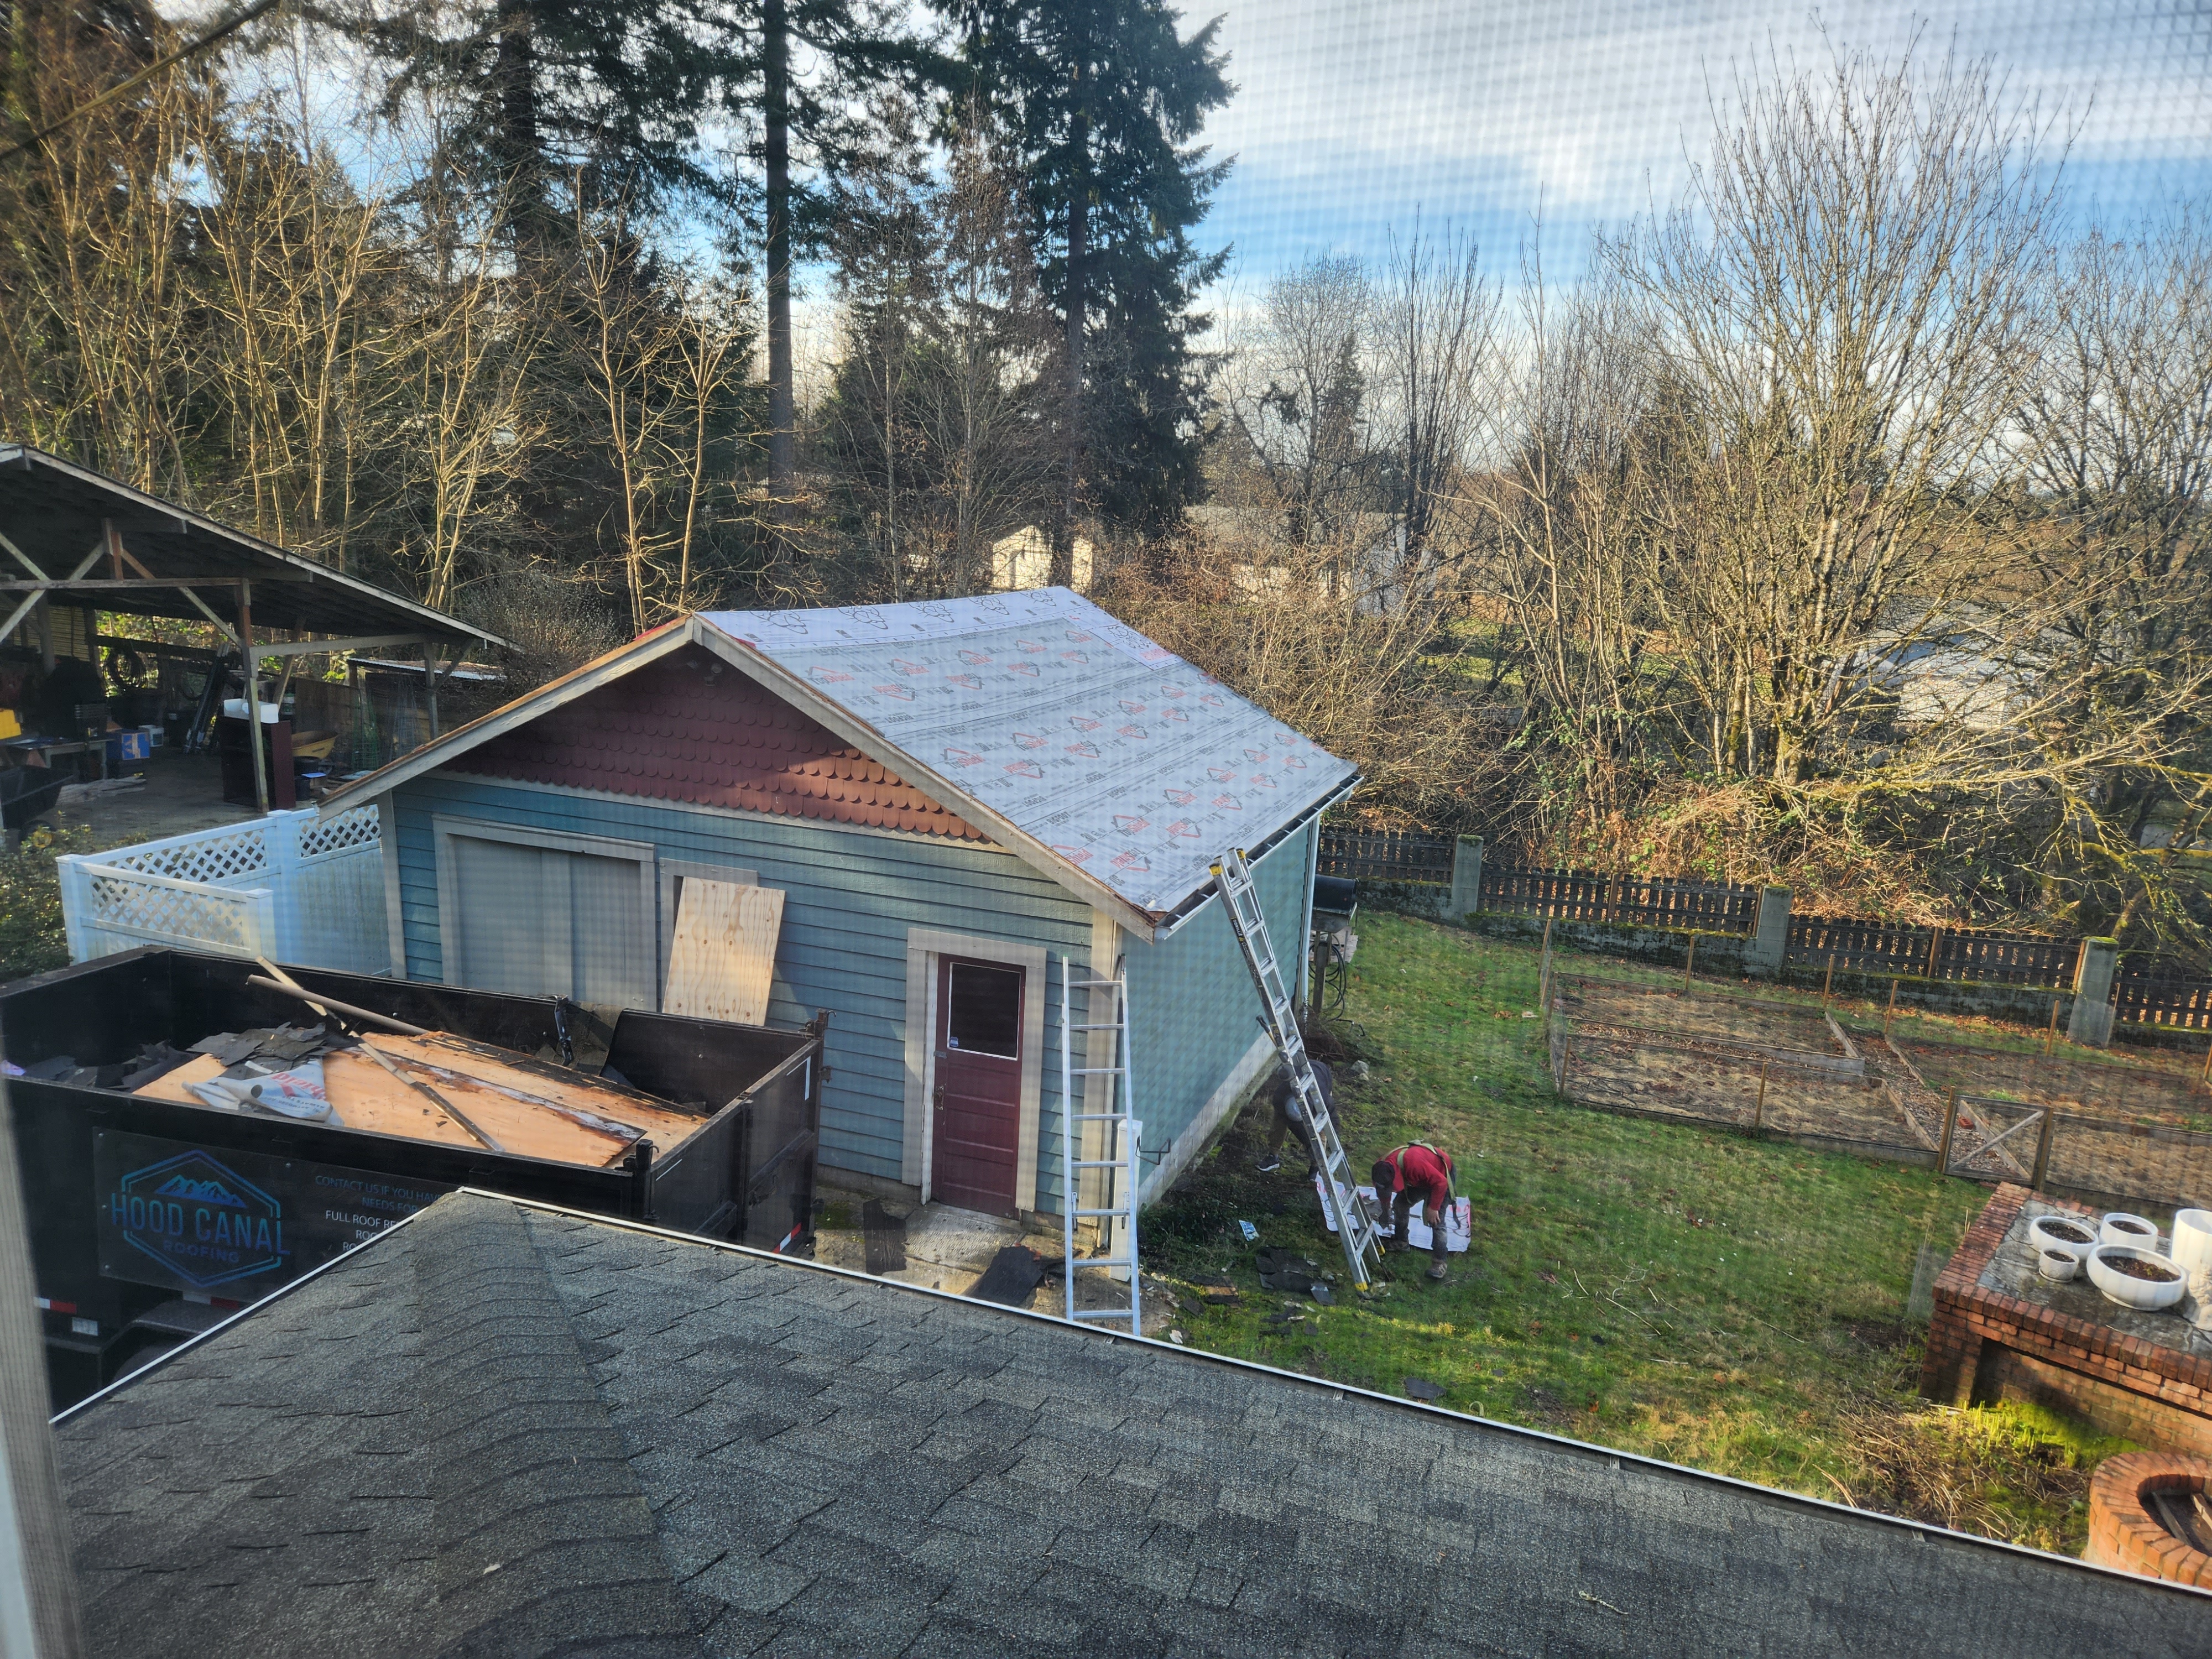
To rehabilitate the sagging roof, we jacked up the roof rafters and sistered the beams with 10′ 2x4s to increase rigidity and prevent future sagging.

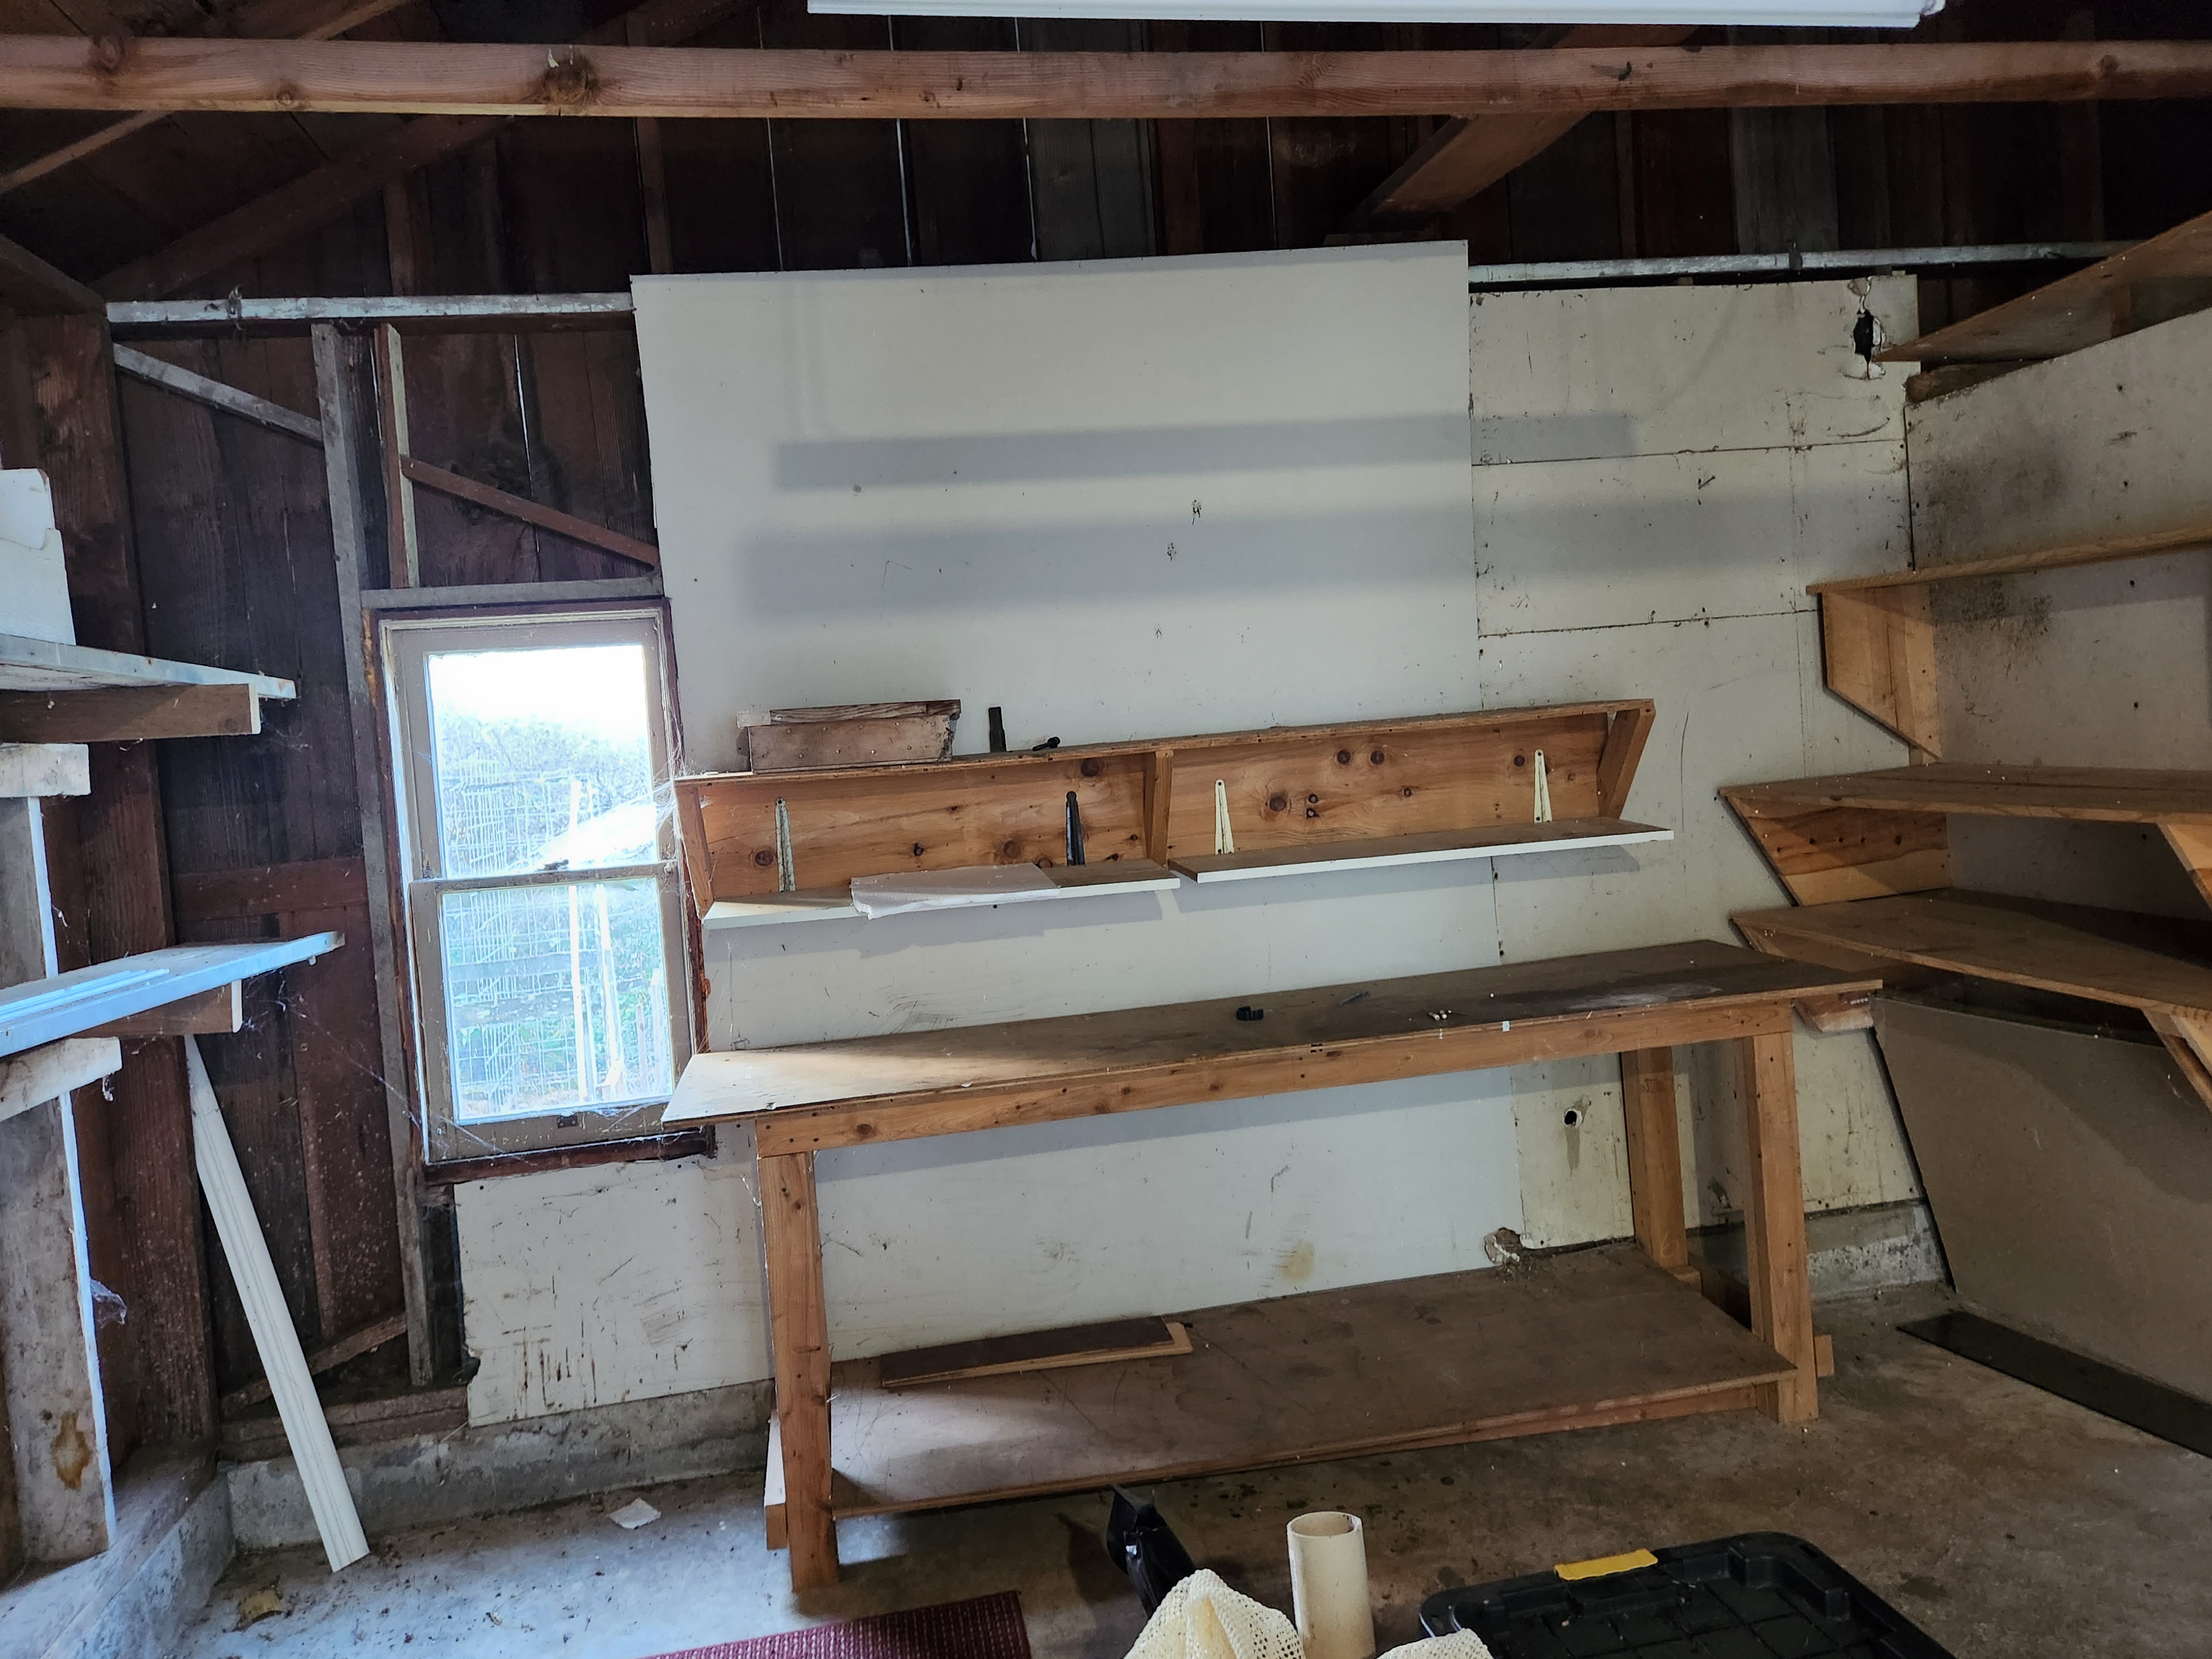
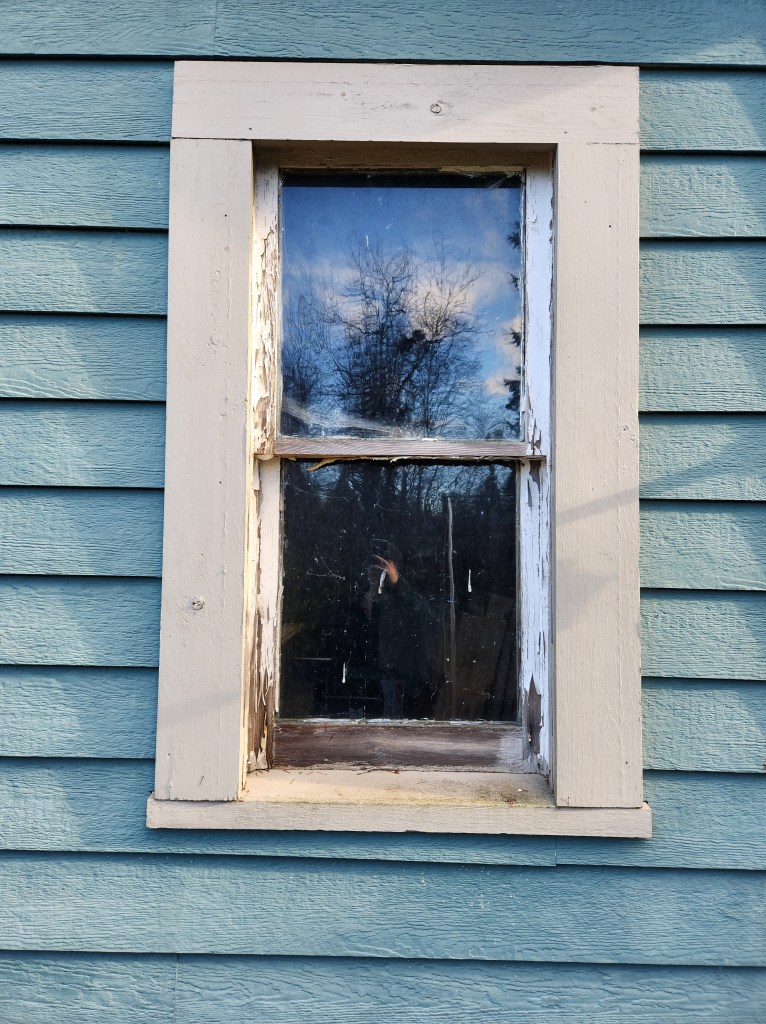
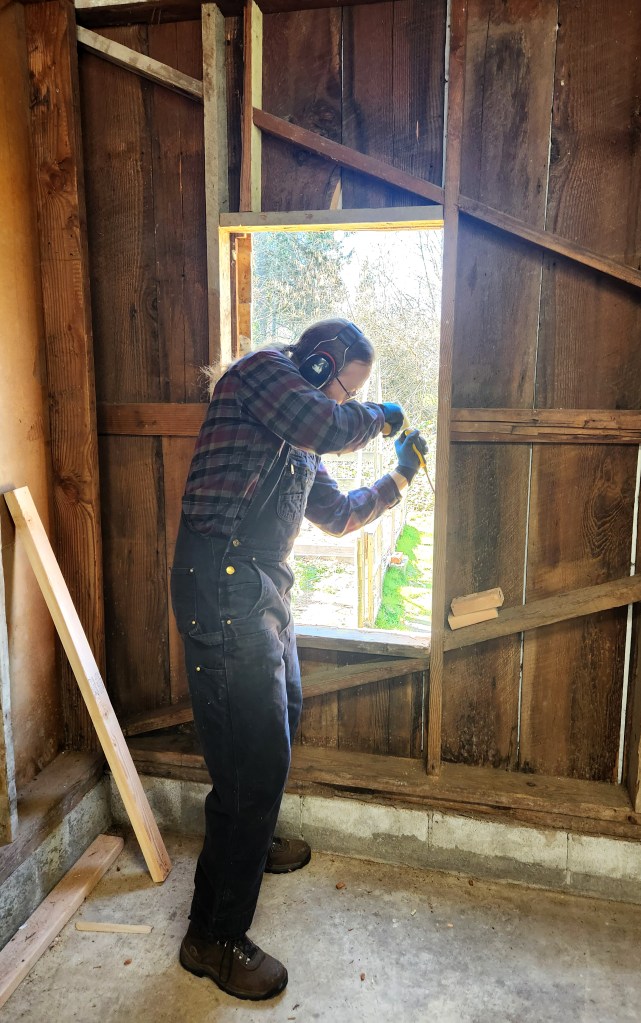
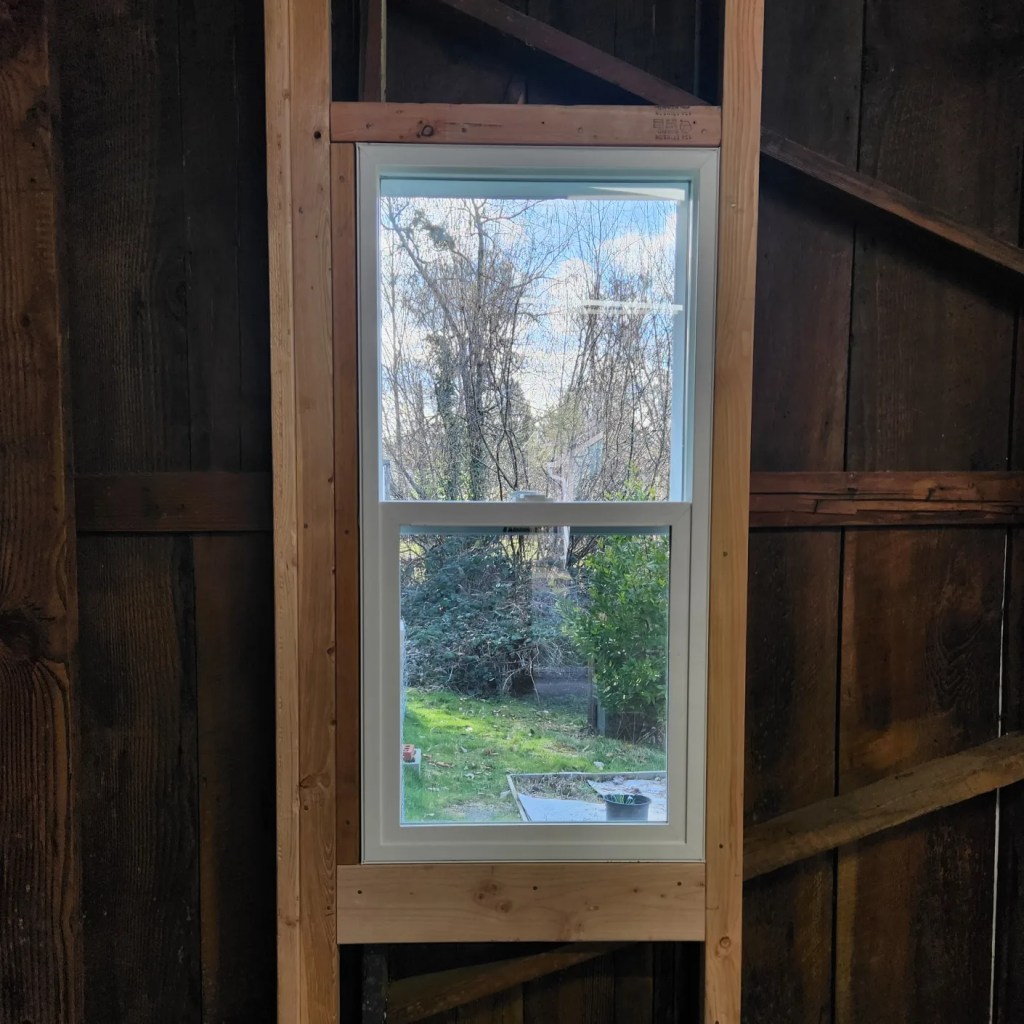
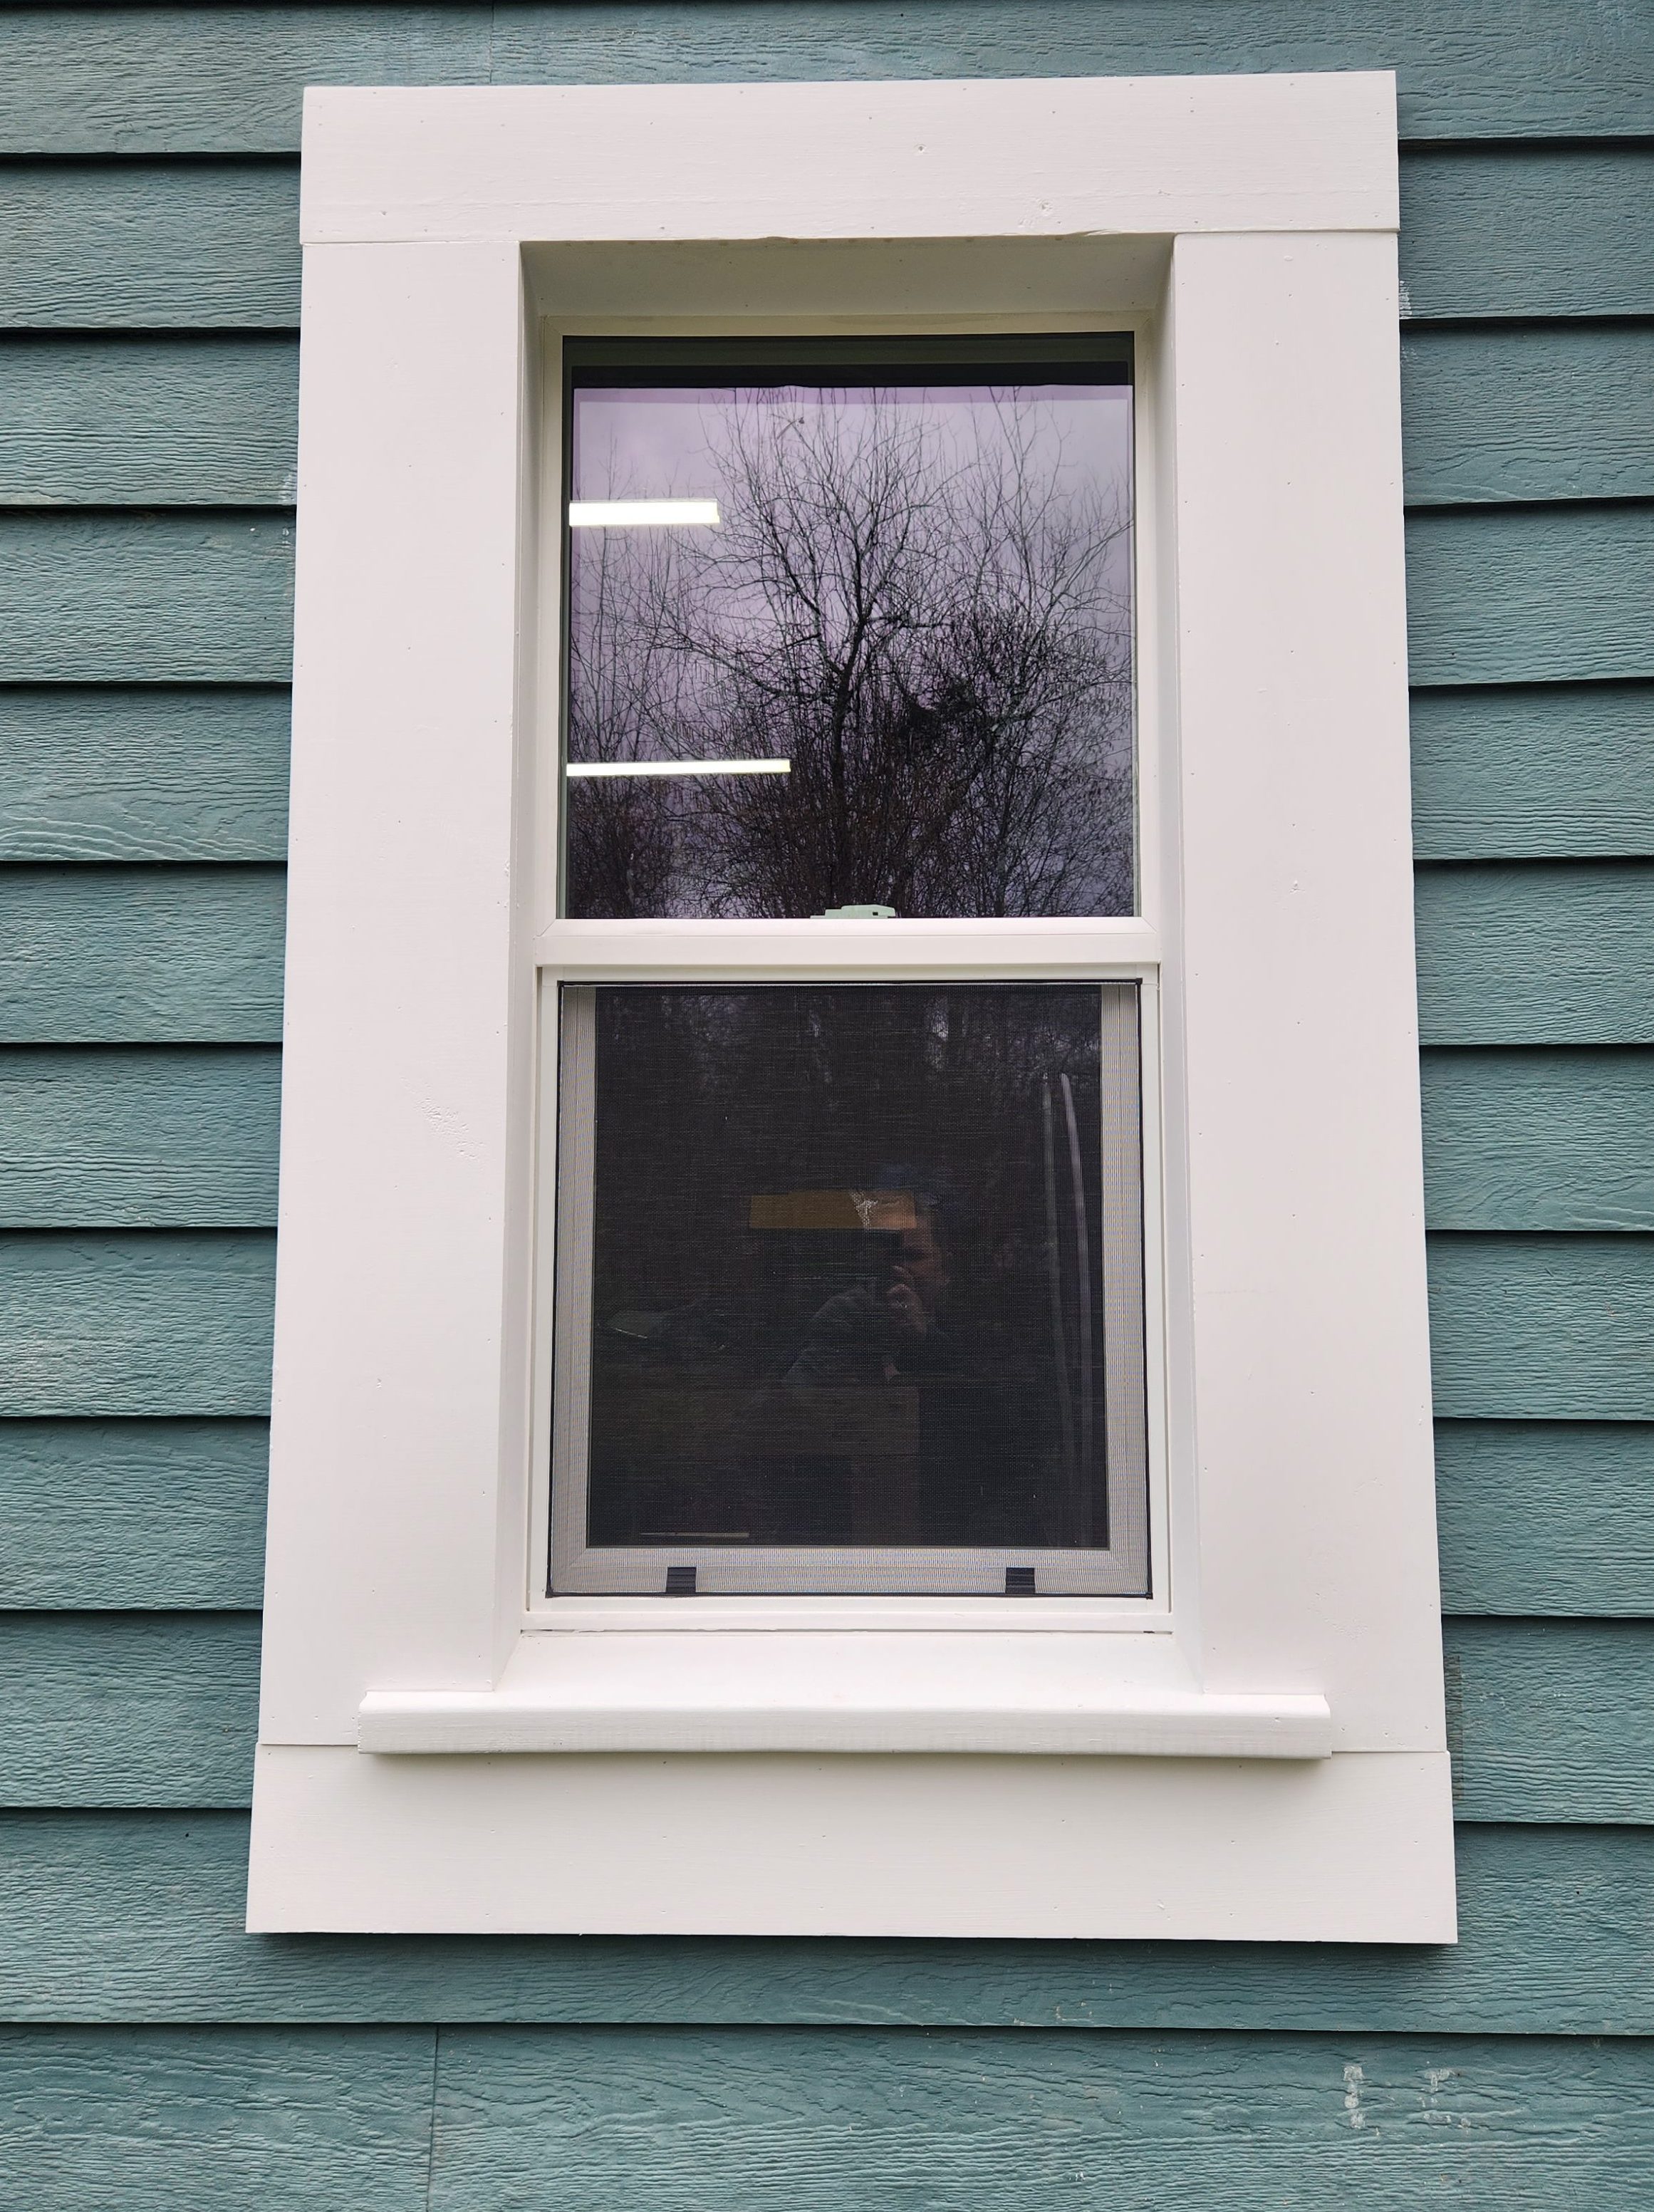
We then replaced the tired, unusable window at the back of the structure. We removed the old window and cut back the siding to fit the new window. We hung and reframed the new vinyl window, cut a new sill and fit the sill at the proper slope, filled the gap below the sill with foam insulation, and trimmed, caulked, and painted the exterior window frame.
It’s so nice to have a window that opens and look how pretty it is!

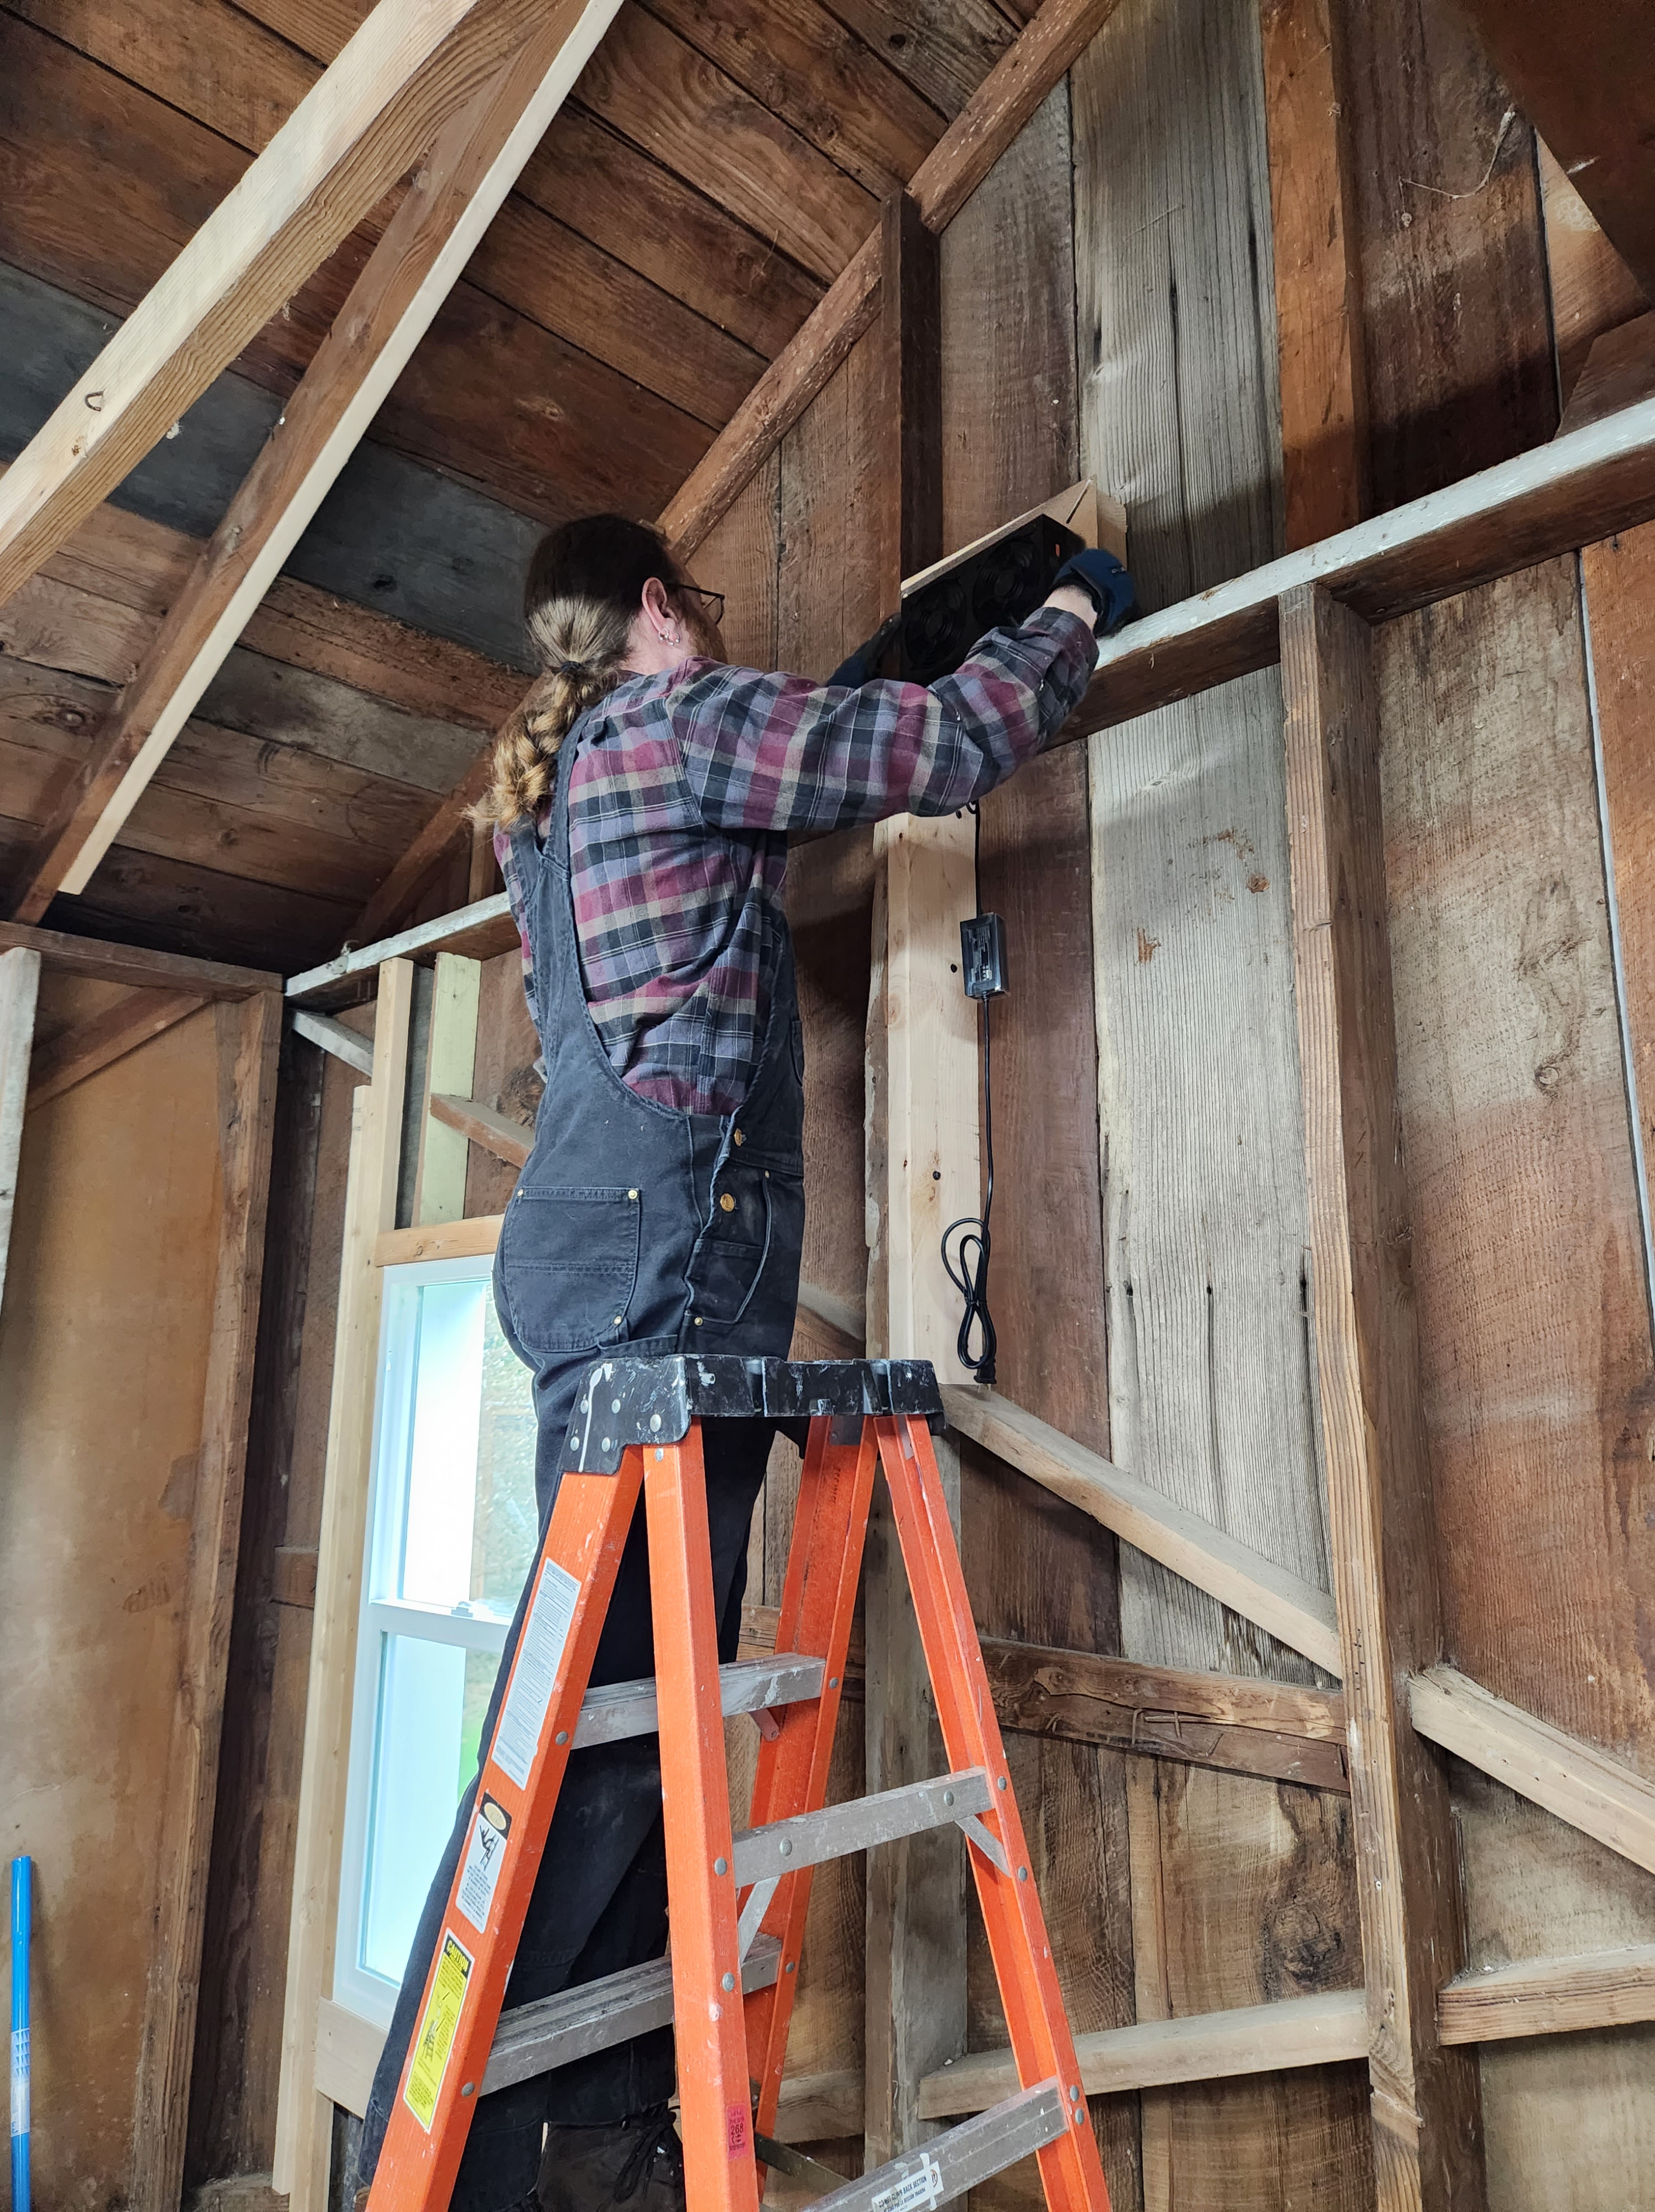
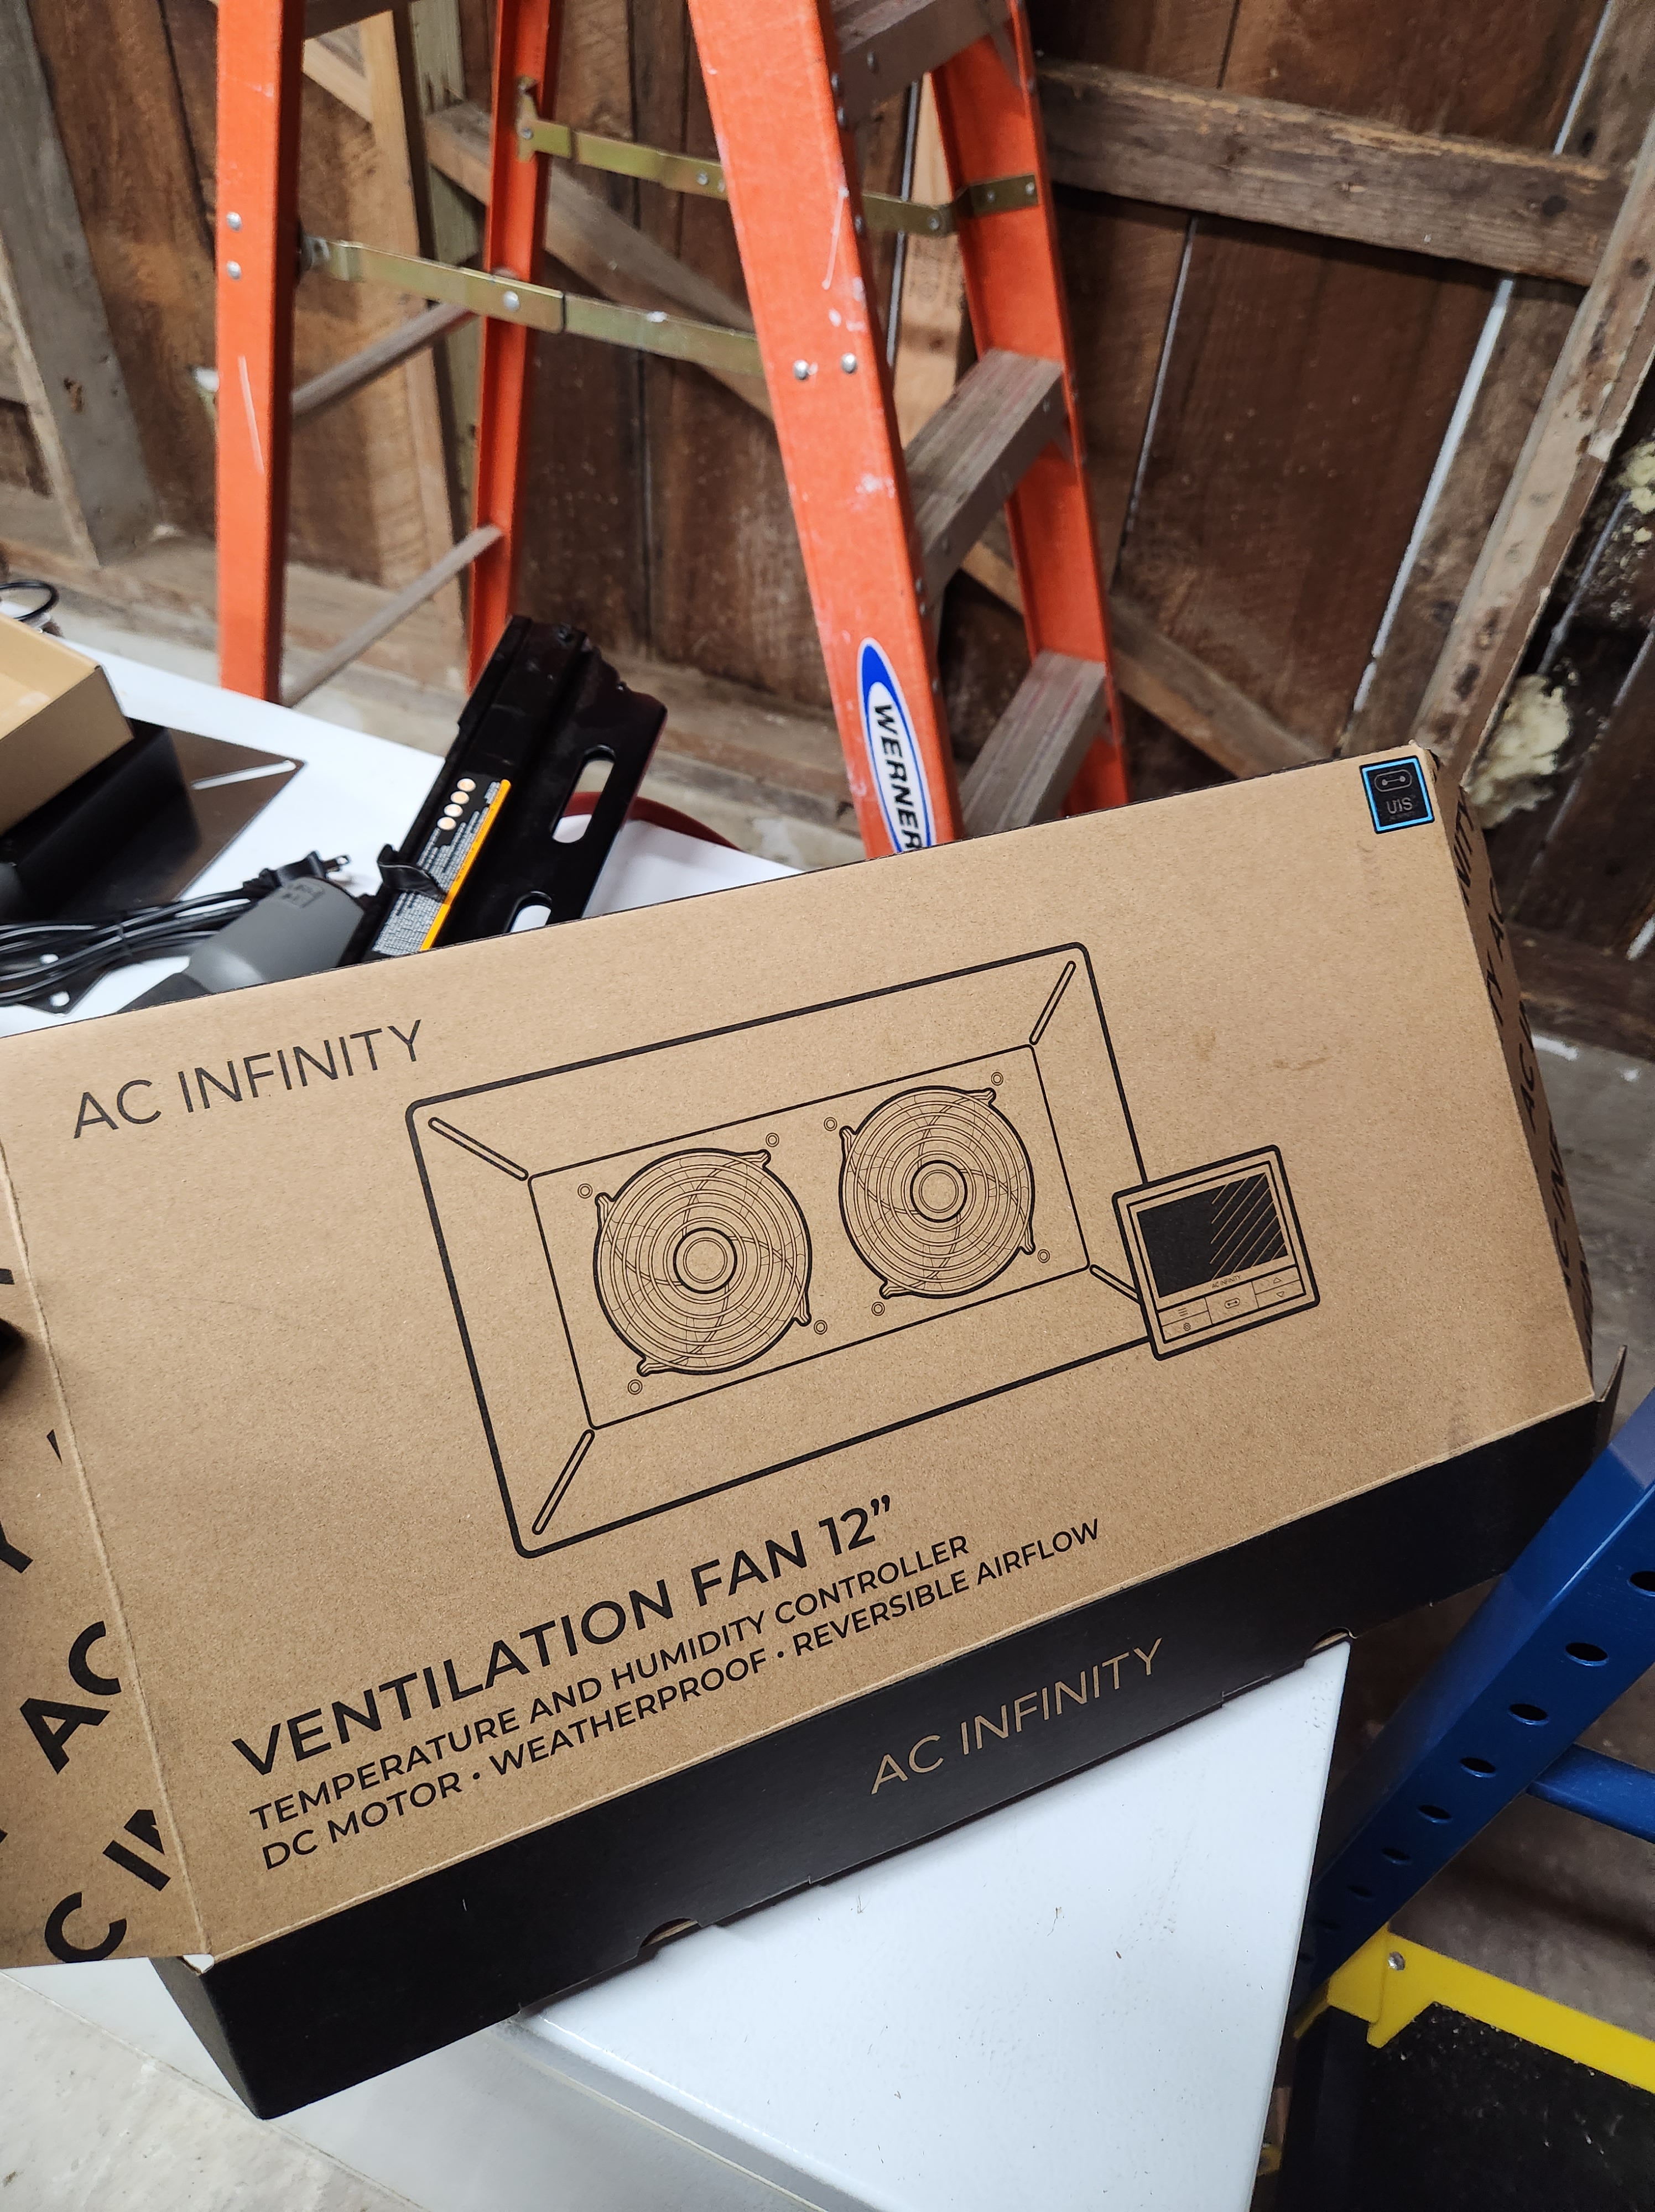
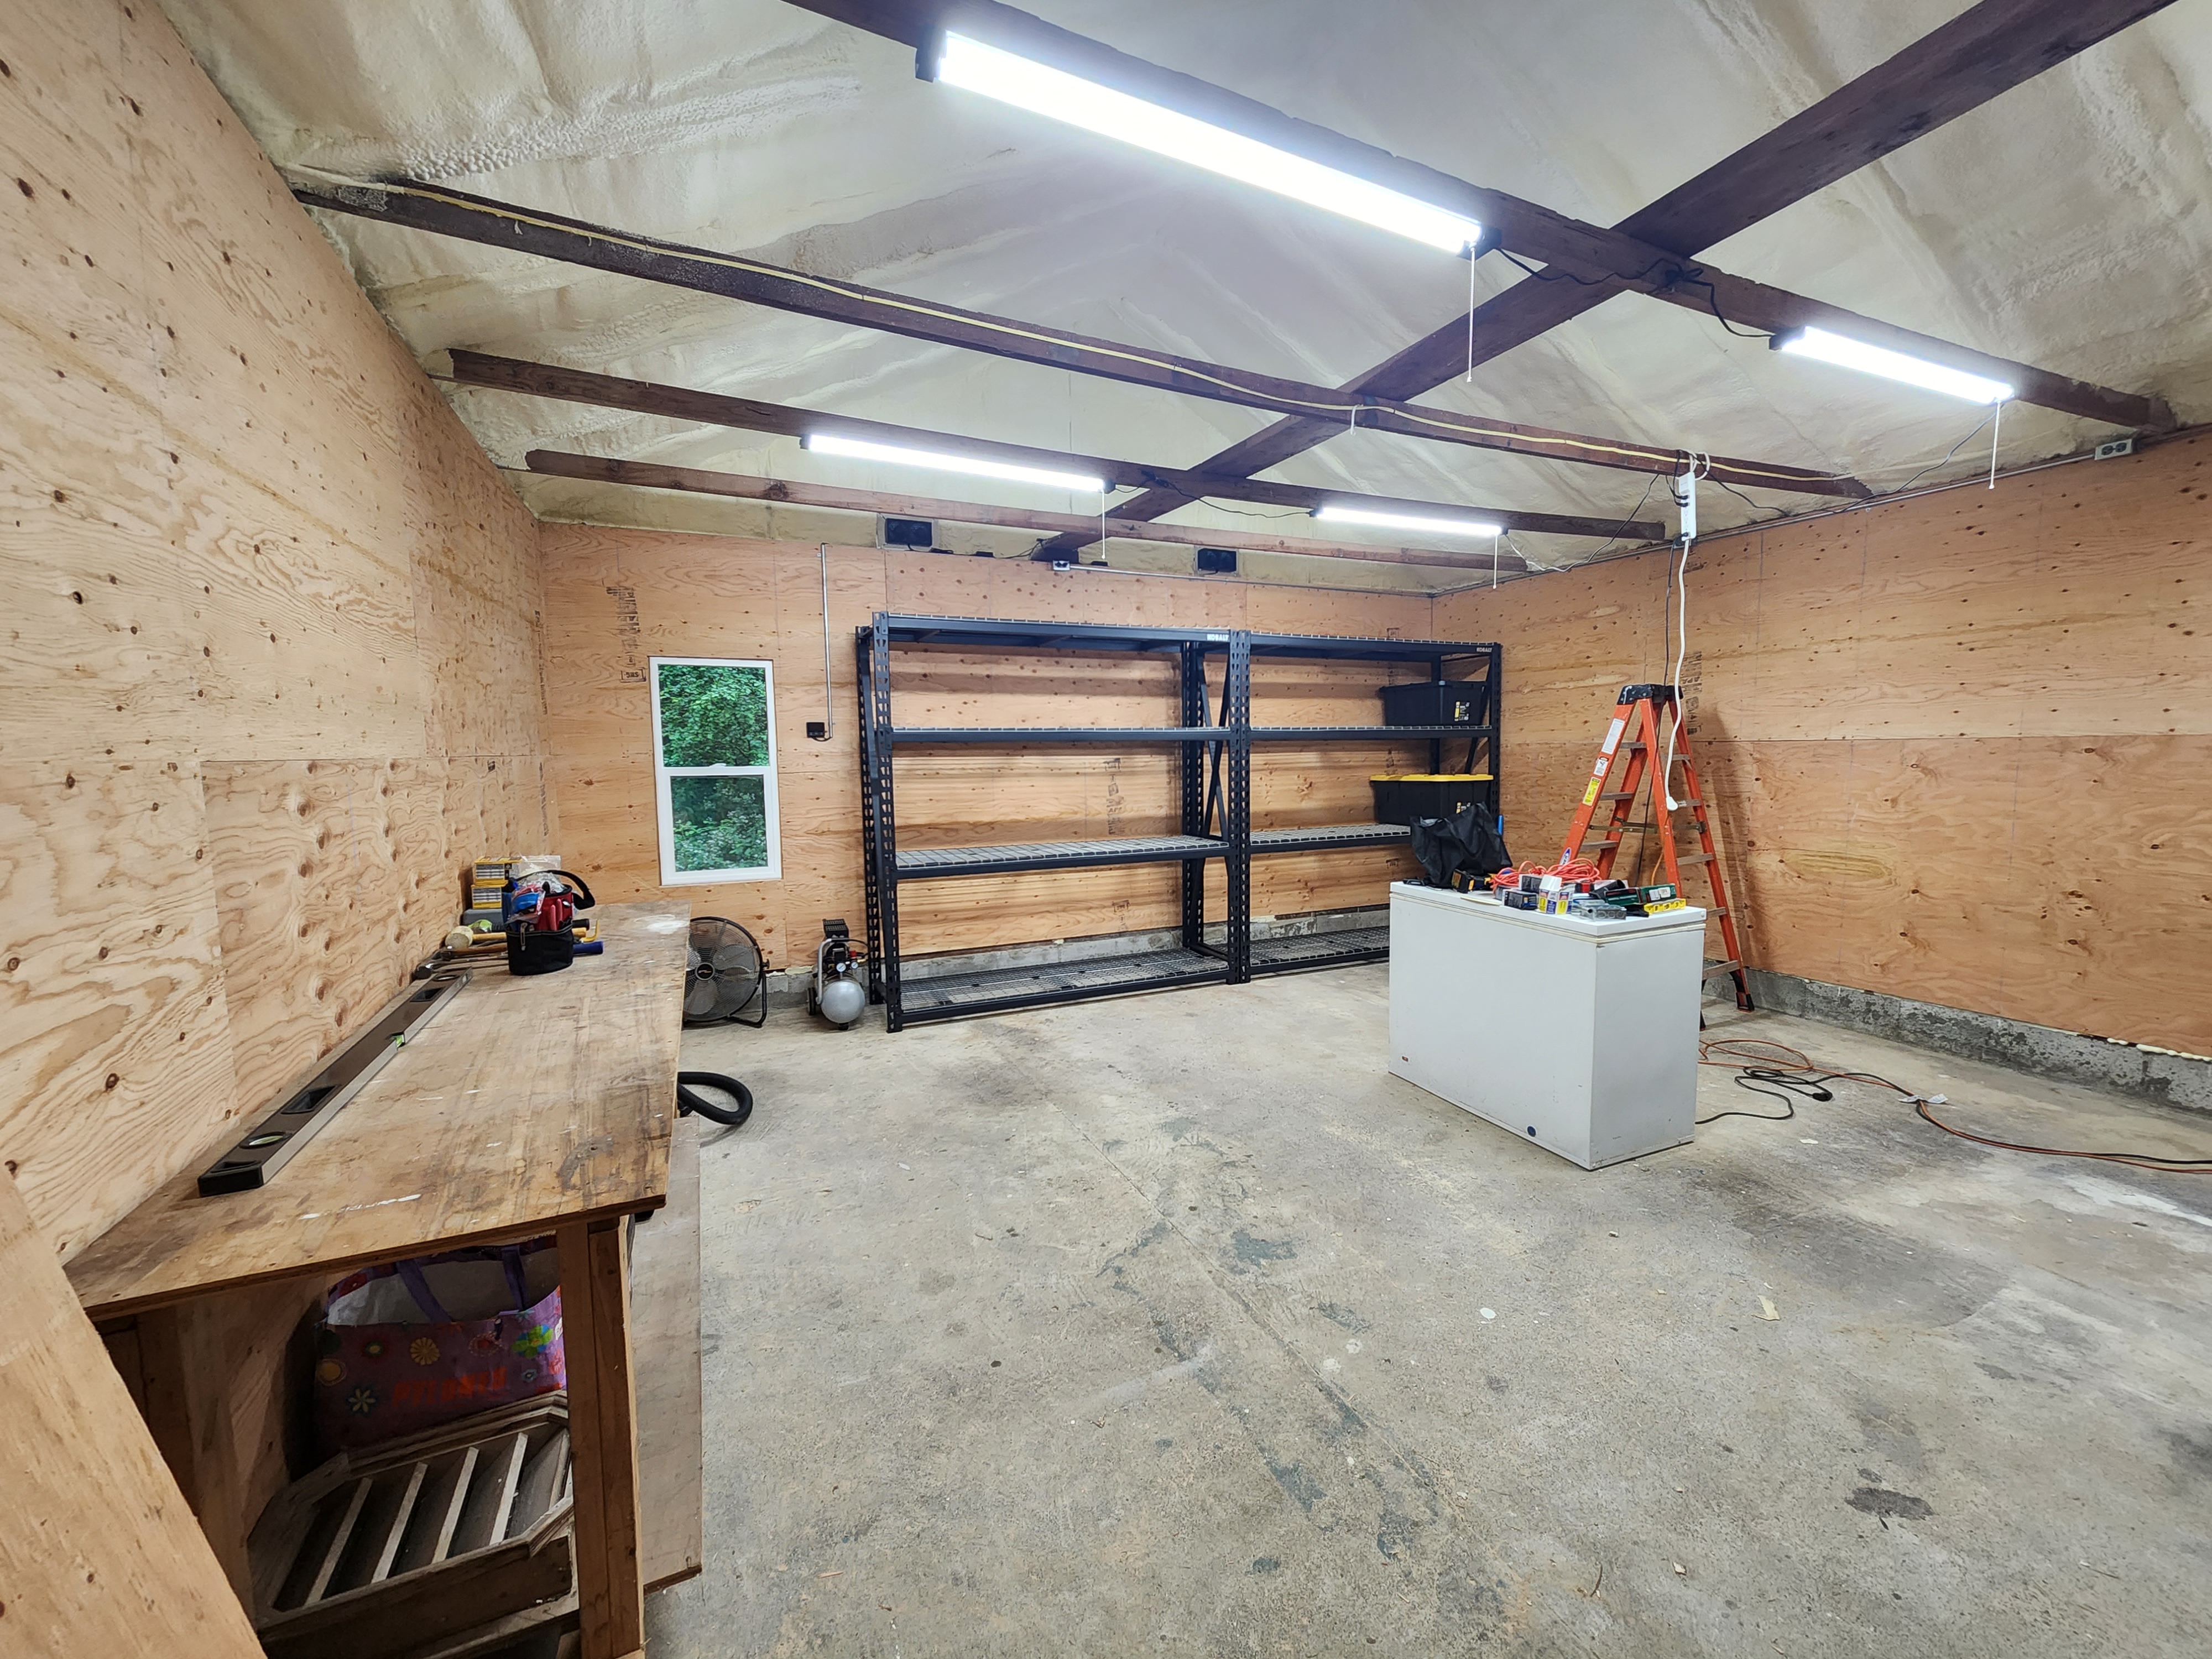
We then installed new LED light fixtures, 2 gable fans and a wall heater.
Stage 3: Finishing
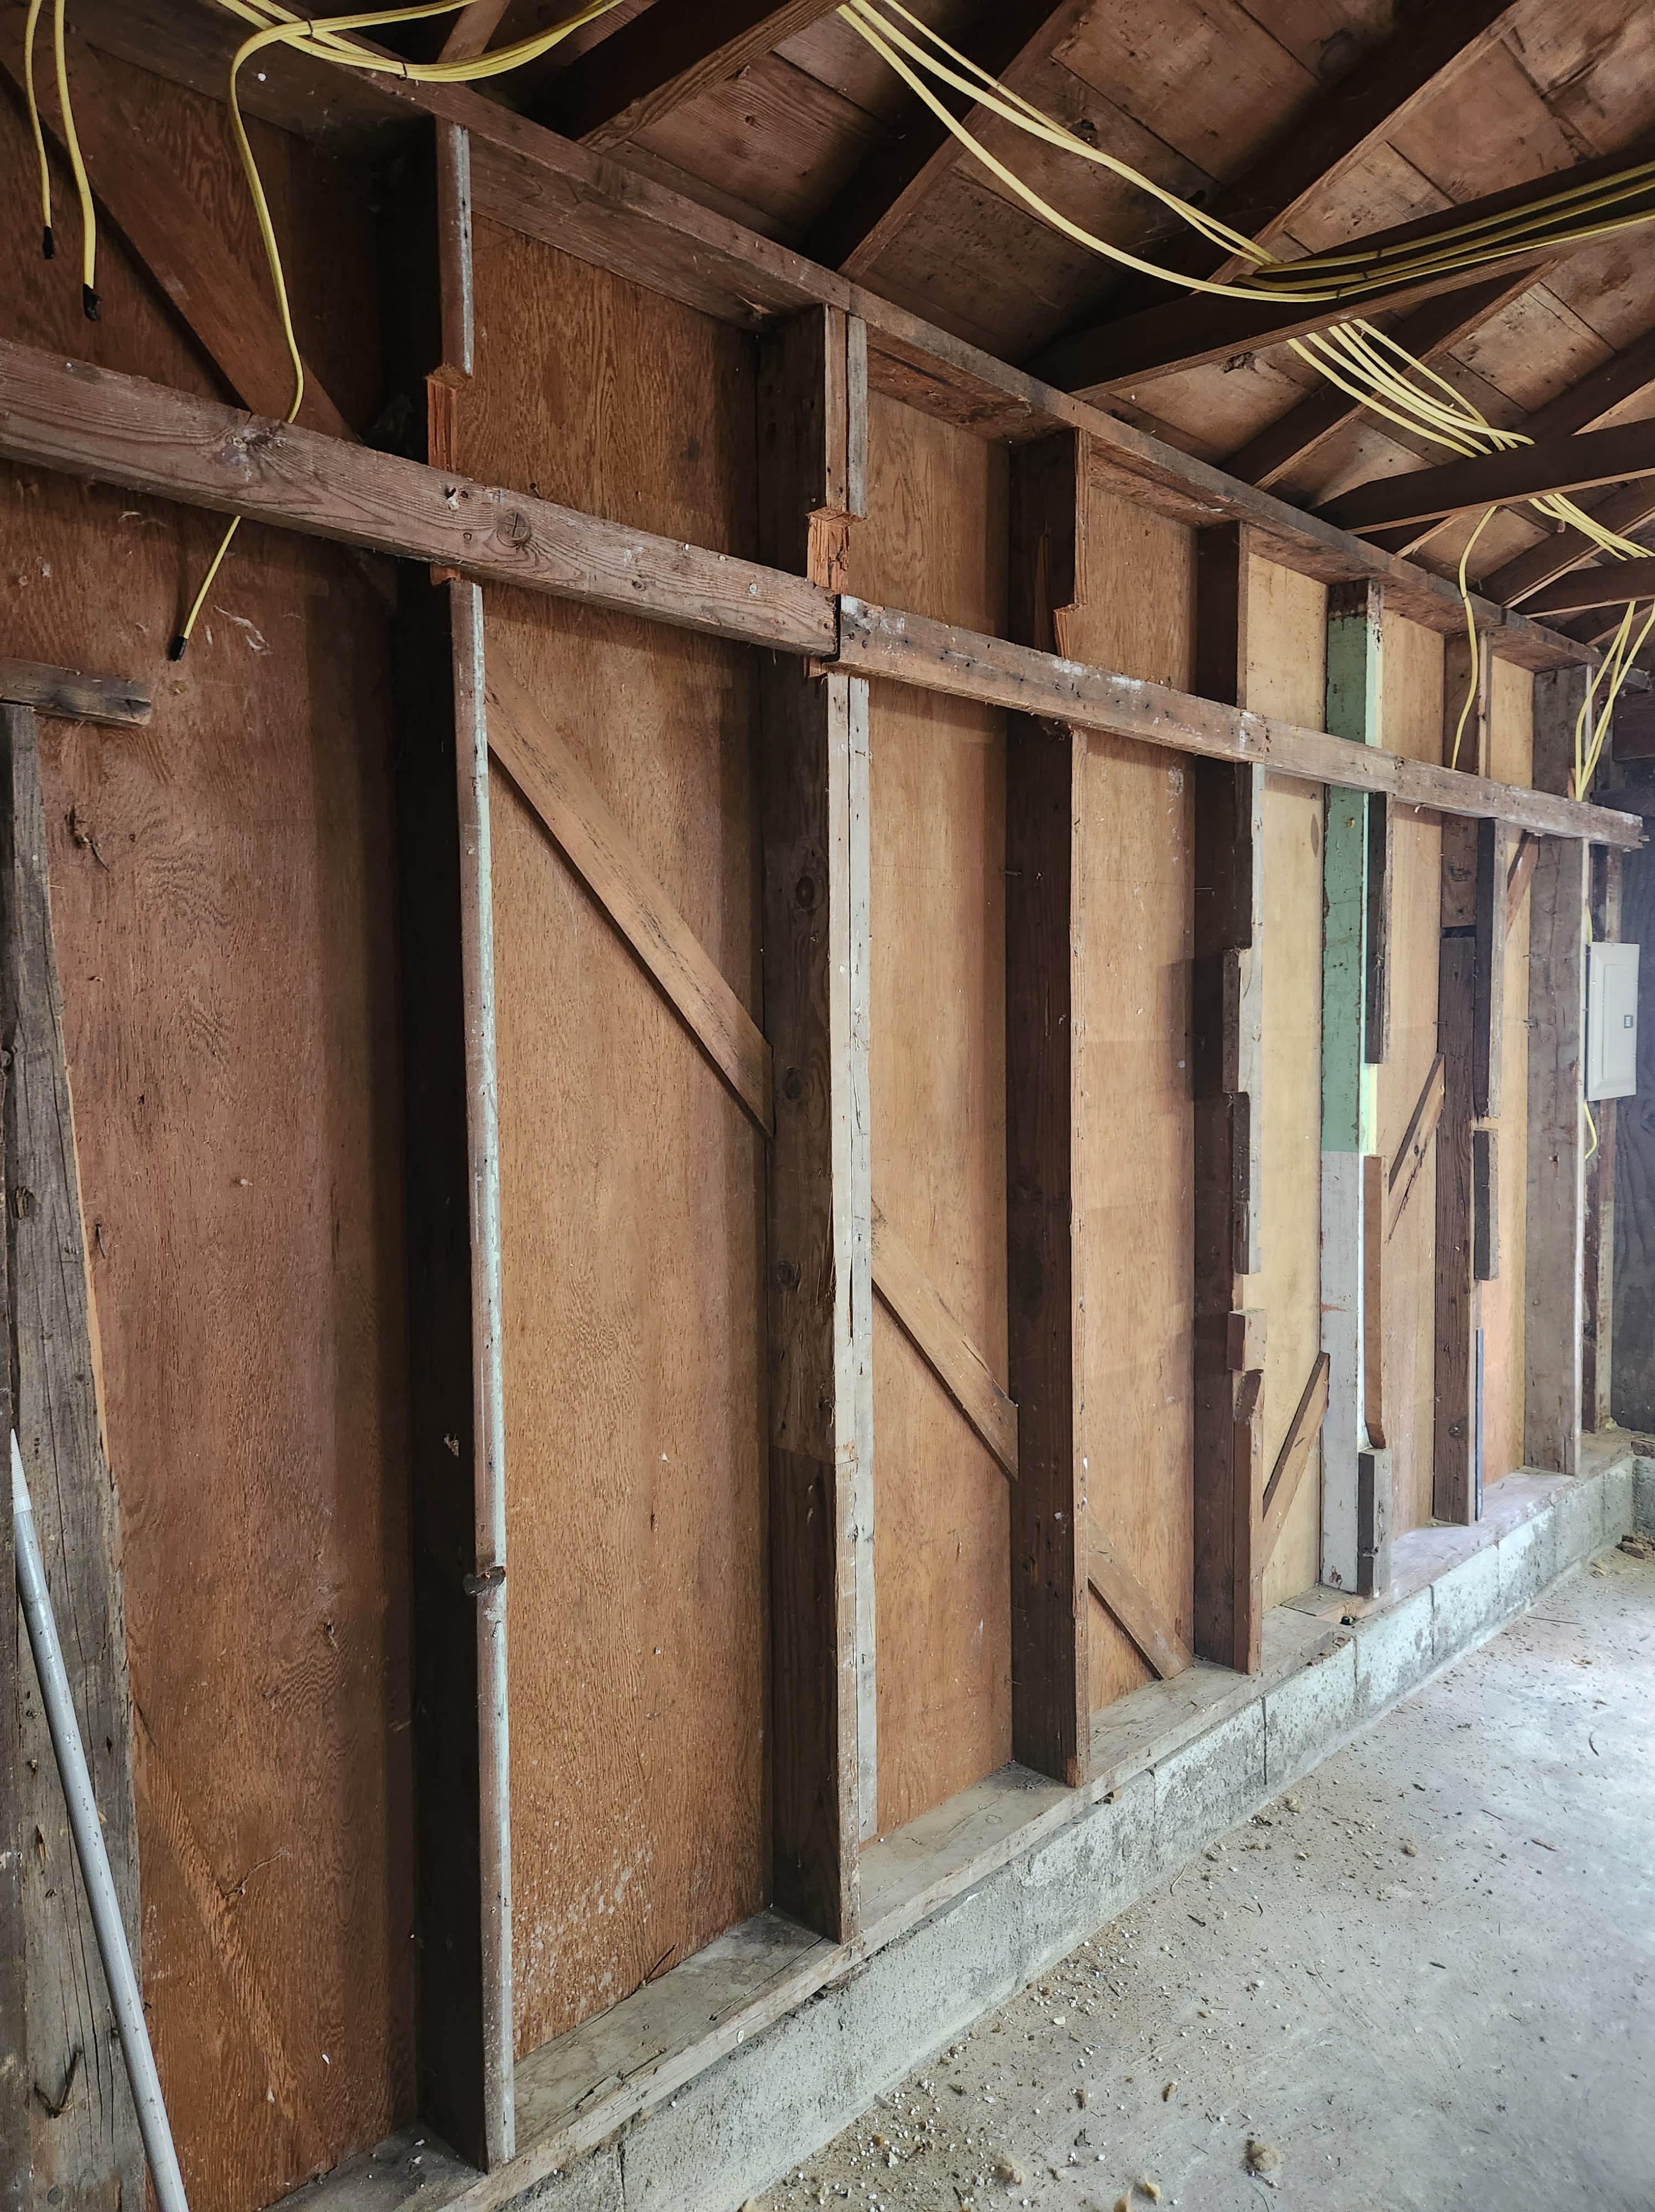
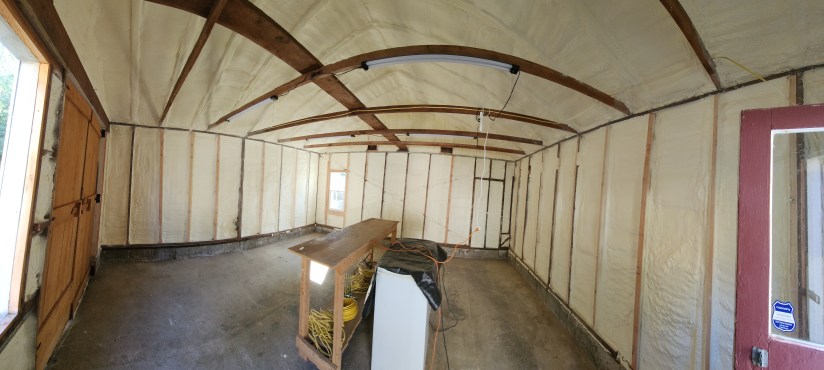
Stage three kicked off with the installation of closed foam insulation. We opted to have the roof rafters completely covered to get the increased R-value. With 3 inches of closed foam, we’ve got an R-value of 21! It’s not the prettiest thing ever, but it is efficient and will last decades!
Before and After “Marshmallowing”
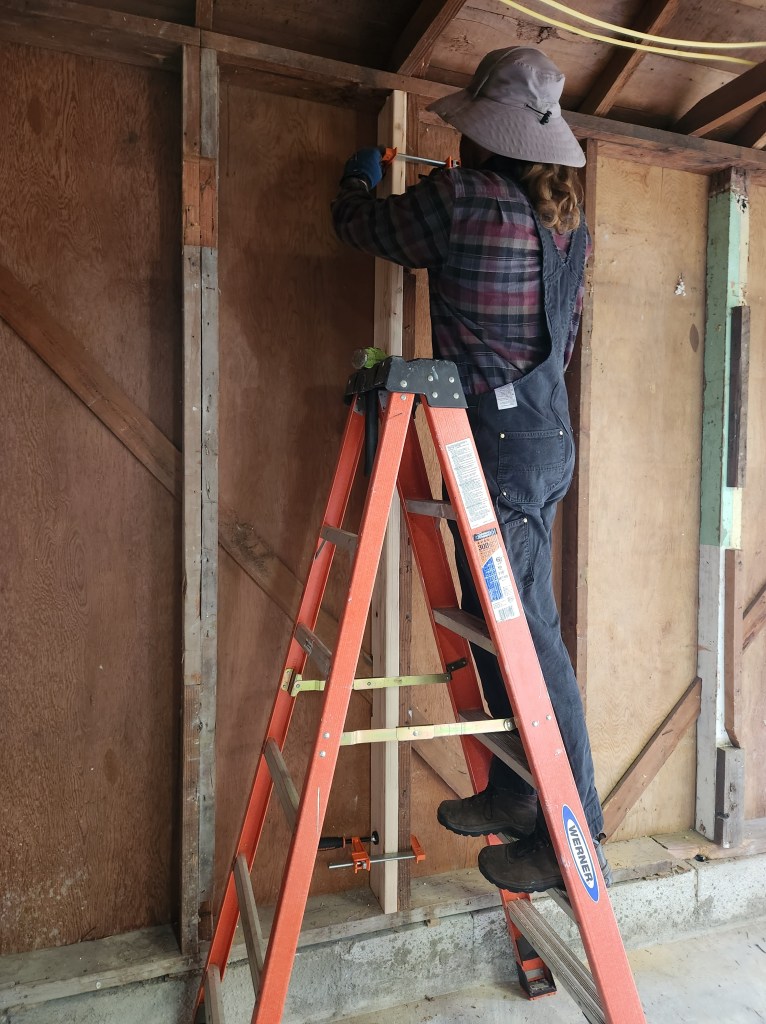
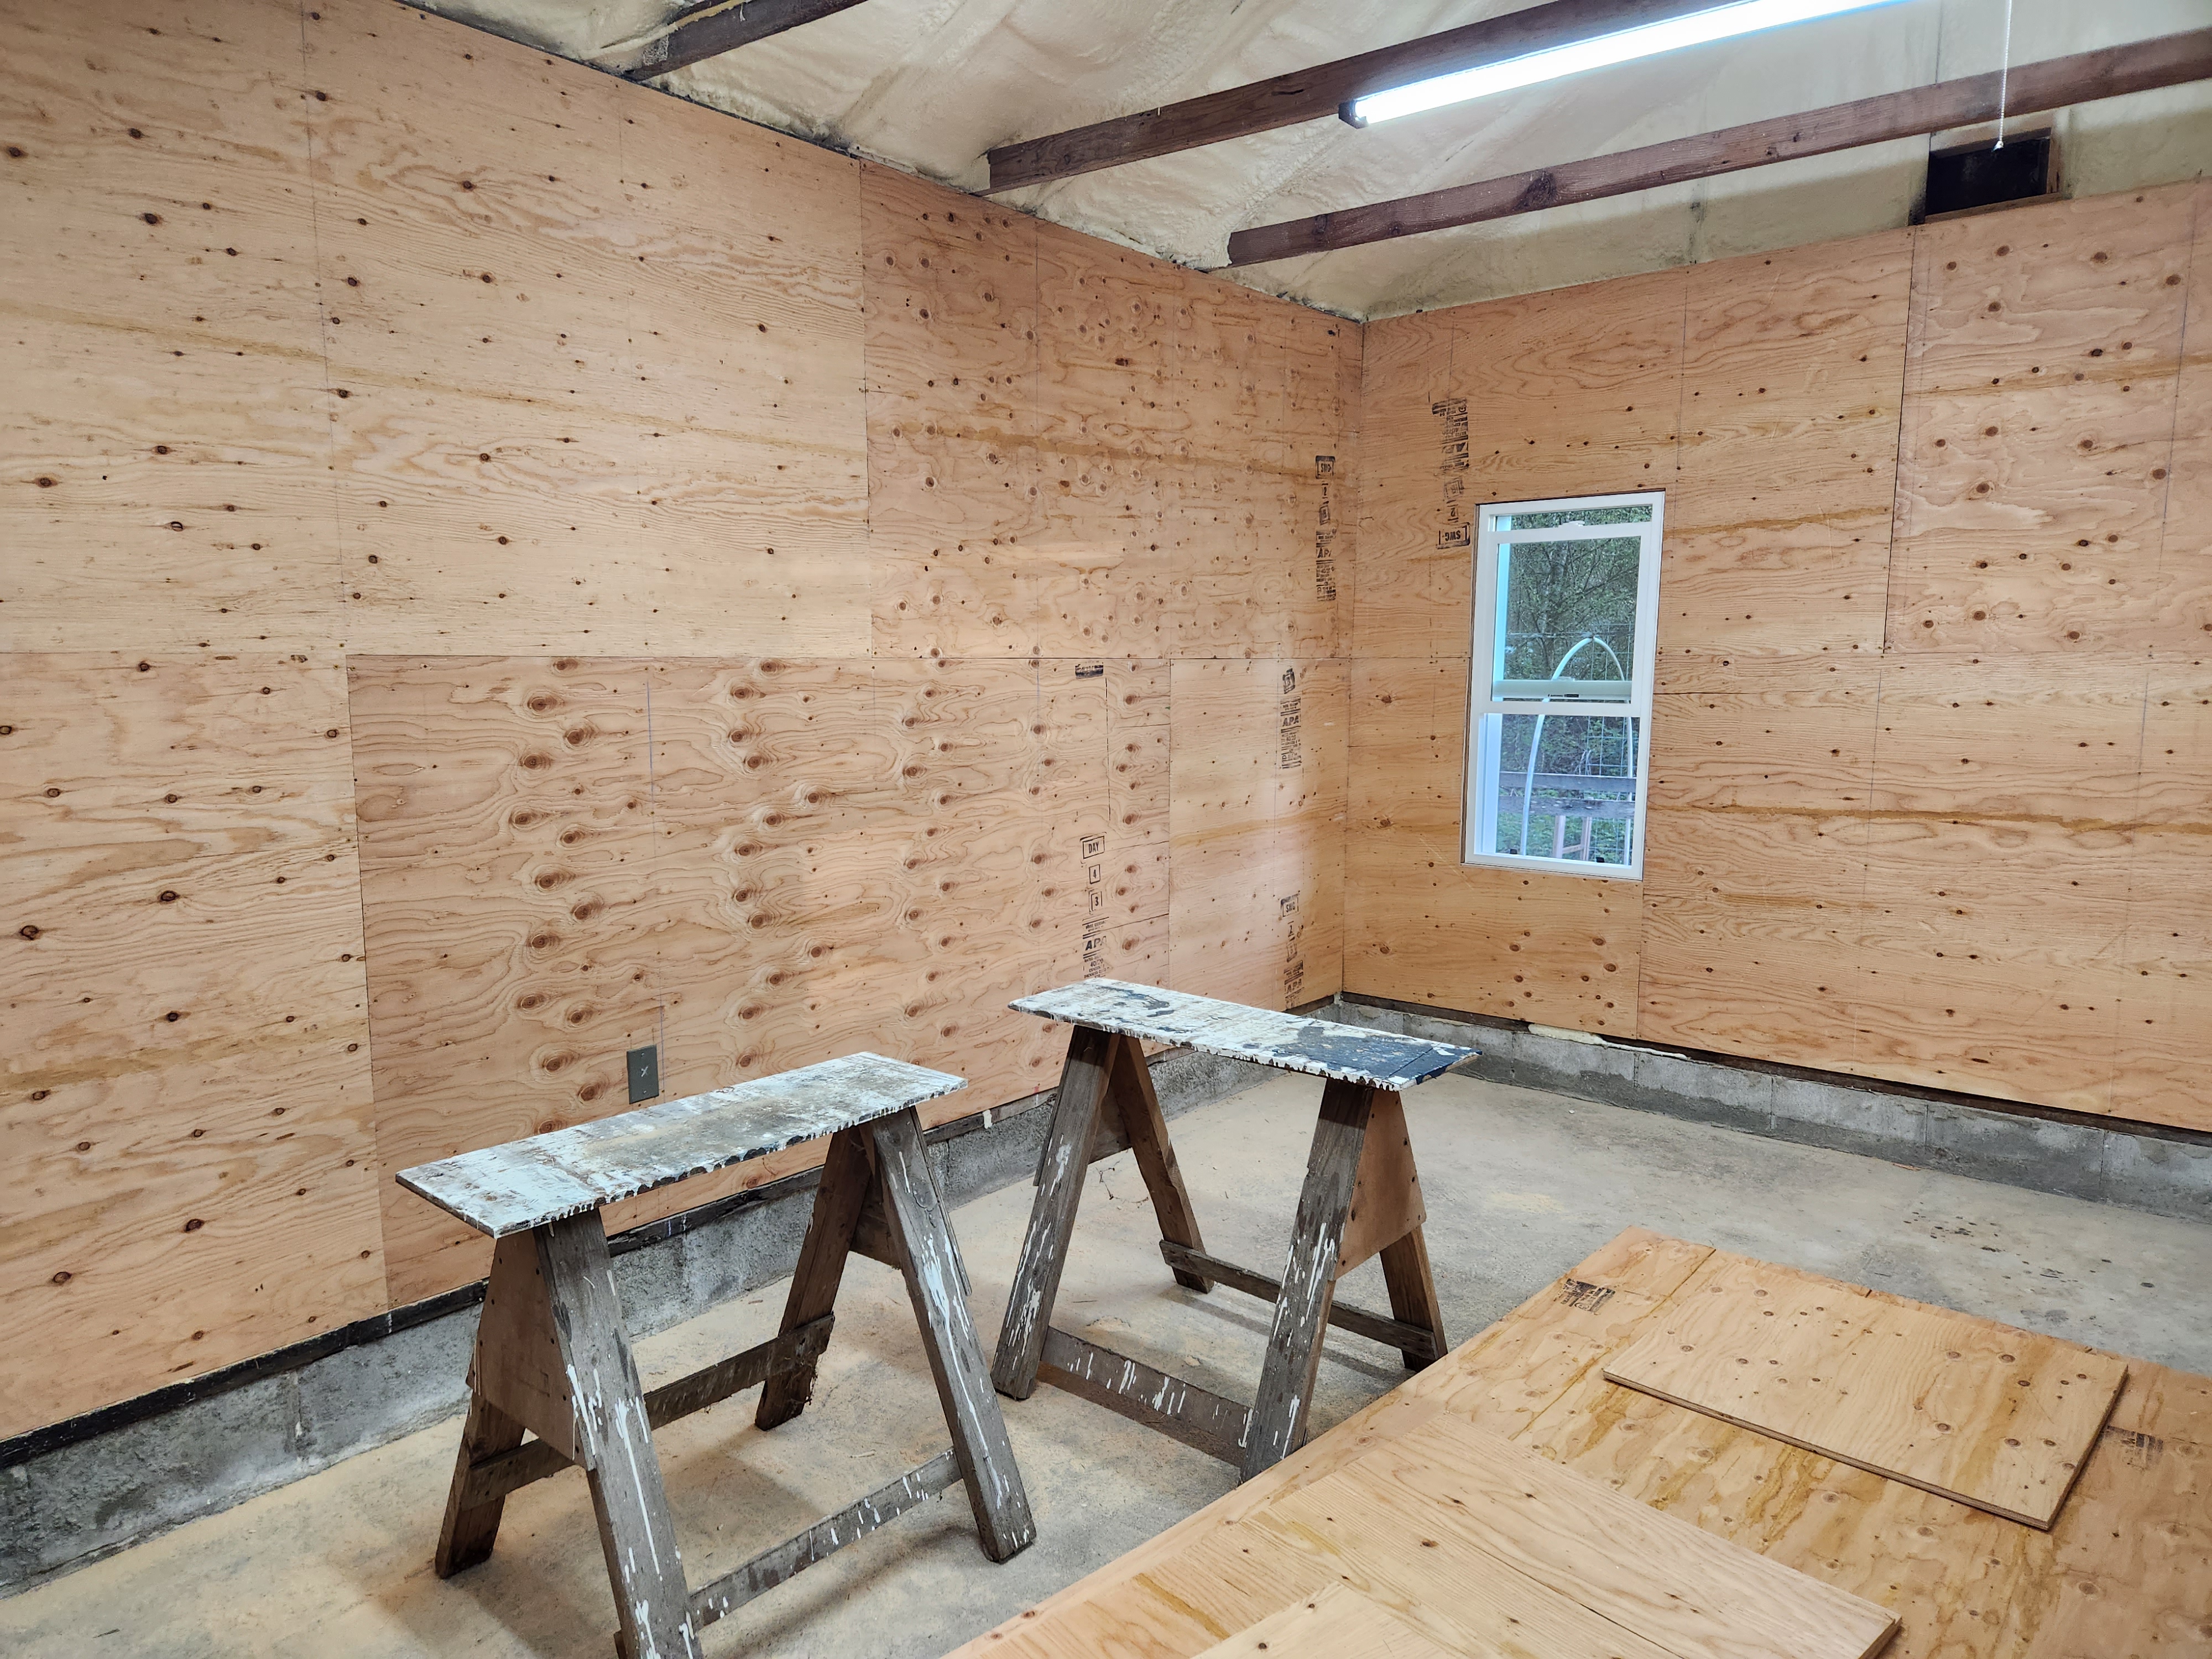
We then hung 1/2″ sheathing on the walls, from the sill plate to the top plate. This was especially challenging, as the studs were somewhat random widths, which did not align with the size of the plywood sheets. We also had to cut around the various windows and doors and outlets and fit the corners. It was tough, but it turned out great!
Pro tip: Use star bit screws to make your life easier. Traditional Philips screw bits will strip out and drive you mad.


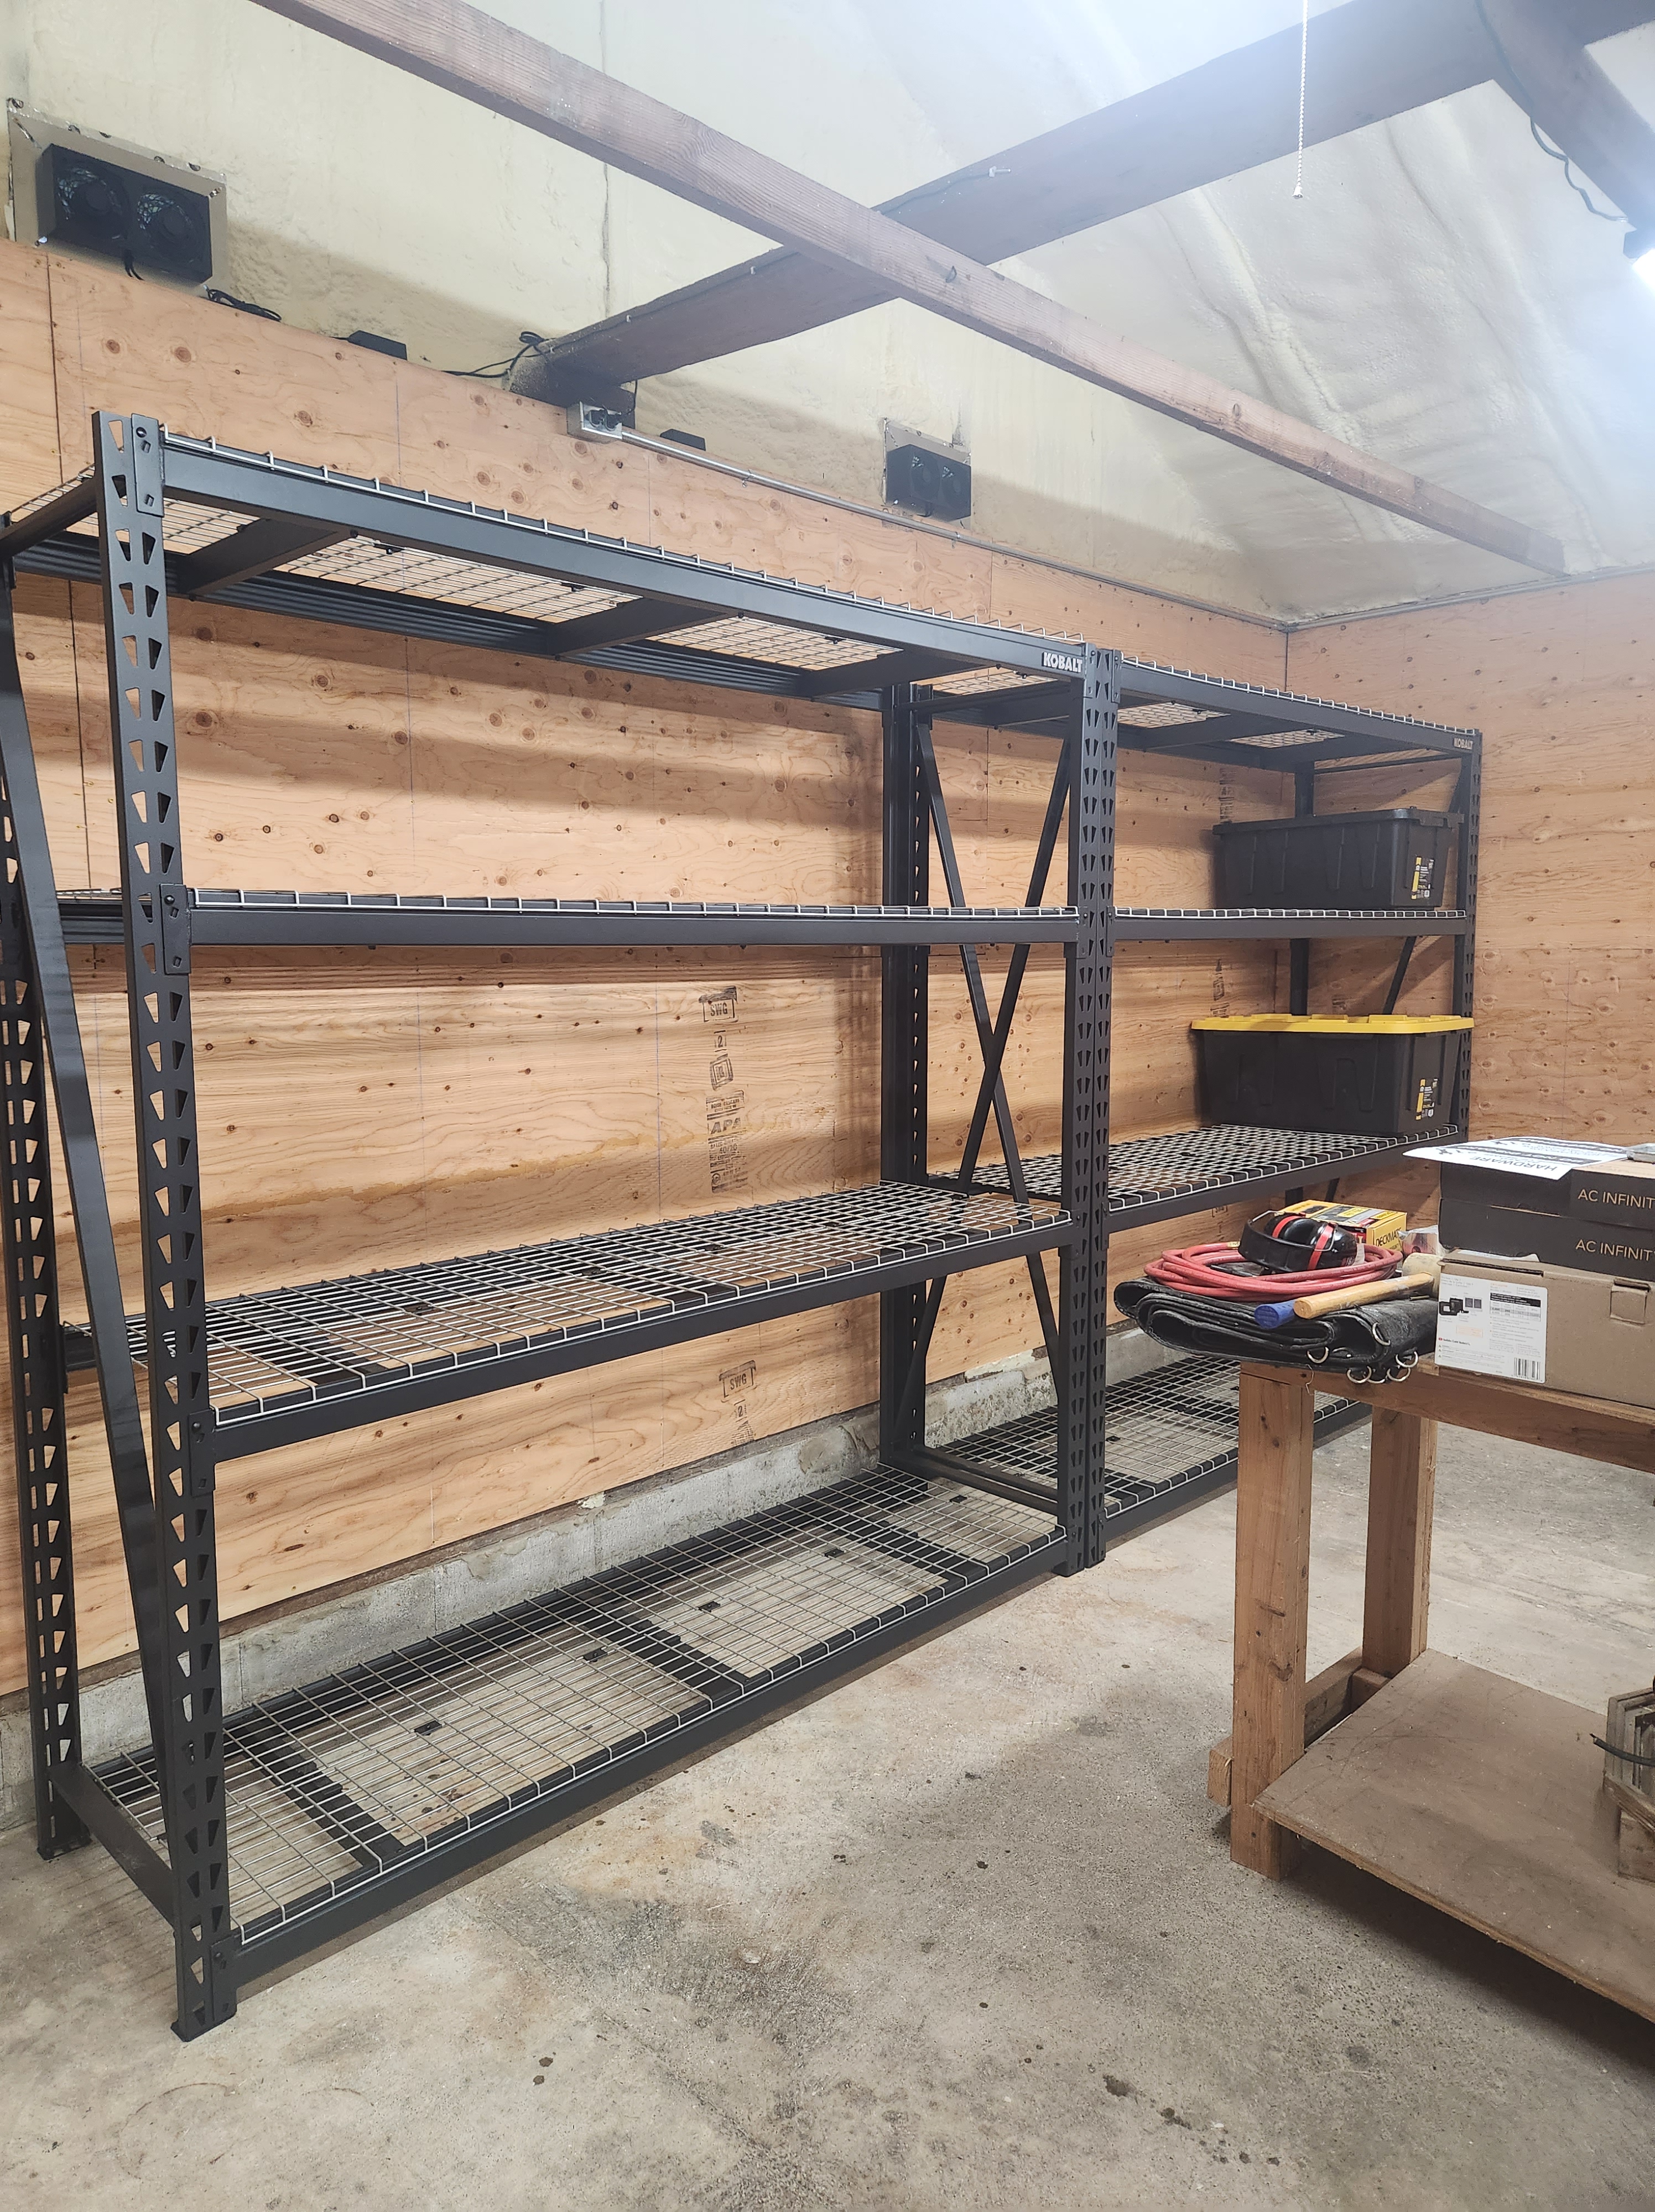
Once we completed hanging the plywood sheathing, we assembled the shelving and moved our storage items and tools back in!
Getting this Craftsman Toolbox home and assembled was it’s own adventure… but we’re happy to have the improved security and organization. It’s a pretty great storage unit, though I’d prefer it in matte black, as the glossy black is so easily scuffed up.

We’ve also replaced the cracked front window with acrylic and mirrored privacy film, had the facia boards replaced entirely and the exterior repainted with the house.
Work remaining is to replace the two doors, but the garage is mostly complete! Yay!
